Painting tips
This is a common topic I get asked about, so I am jotting down a few points that hopefully will help you. I highly recommend practicing on scraps of card or wood to see what works for you, especially when it comes to getting the colours right. And don’t be afraid to use some colour. It really helps in telling the story, adding character and interest to your scenes and giving your miniatures individuality.
Firstly, some basics:
for painting raw wood, or if you are just painting a whole piece in one colour, use an old brush. It doesn’t matter.
I usually undercoat, especially if I will topcoat in a light colour. If you are topcoating in darker colours, tint your undercoat (adding some black will be fine). I just use a household acrylic (water-based) primer/sealer/undercoat from the hardware store, the stuff used on walls or furniture (largely because we’ve always got that on hand). Gesso or craft undercoats/sealers are also fine. After undercoating, give the piece a light sand. Sometimes, especially if I am using a really light-coloured topcoat, I will then apply a second layer of undercoat and lightly sand again.
If you want to stain the furniture, apply the stain to the raw pieces before gluing them together, then give them a light sand.
You can easily make your own stain: mix a paint (acrylic) colour of your choice with an extender or retarder medium. Experiment with proportions.
I use craft acrylics. My preference is for the Plaid Folkart or Americana paints. They have beautiful colours, are well priced and have a nice matt finish.
Don’t be afraid of paint. If you don’t like it, paint over it. And be bold! Colour is your friend!
How I get an aged appearance:
After undercoating and sanding, I apply a couple of topcoats in my chosen colour. When that is fully dry, I will apply an antiquing mix all over (this doesn’t even need to fully cover the piece), then use a damp lint-free sponge or cloth to rub the mix around until I am happy with the results. Make sure to get the mix into any grooves or recesses. For a more rustic look, leave more mix on.
You can use wood stains for antiquing. I have Jo Sonja acrylic ones that are really good.
Making an antiguing mix - same as the stain: mix your chosen paint colour with extender or retarder medium. I usually use a brown that goes with the topcoat colour. You could also make antiquing mixes with a darker shade of your topcoat. This is one of those things you need to play around with. You can get some really great and interesting results.
I will pick a darker antiquing mix than my topcoat. If you are painting something a light colour, you may only want to apply a very light brown antiquing mix, removing most of it with your damp sponge.
Remember that antiquing mix or stains will take longer to dry, so don’t be in a hurry to add additional coats!
I use these stains and mixes because you get more working time. If you apply a watery mix without any medium, you will not get the working time, and will have a lot less control over the final finish. That said, I do sometimes add a tiny bit of water to my mix or use a wet brush to apply it. This is good for just getting a very light antiqued look.
You may want to work in sections on larger pieces, working the antiquing mix before it dries too much. That said, you can get some interesting finishes by letting it dry a little.
But further to the above, work on one furniture piece at a time. You will need to work relatively quickly, and will not want to be working next to totally dry sections on the same piece.
You can still layer your antiquing mixes, but make sure all the layers are well dry beforehand.
I will usually dry brush a lighter shade of the topcoat over the piece once all other layers are dry, but you can also do this before applying any antiquing mix.
You can keep layering paint as long as you wish.
Look at real life furniture and take note of where the piece is worn or dirty or scratched.
There’s no wrong way to do this. It’s really all about experimenting and layering. Get some scrap pieces of wood or card and try it out!
I use the same mixes and techniques on my mini houses too.
To get a mossy look around windows, lower wall sectons or in roof valleys, dust on a little moss green pastel chalk dust. I either scrape some of the pastel with my fingernail or a knife blade or rub the pastel on sandpaper, then apply with a large soft brush. To get subtle variations or aging on walls, you can also use light brown/tan coloured pastels in the same way.

Screen painted in a base colour
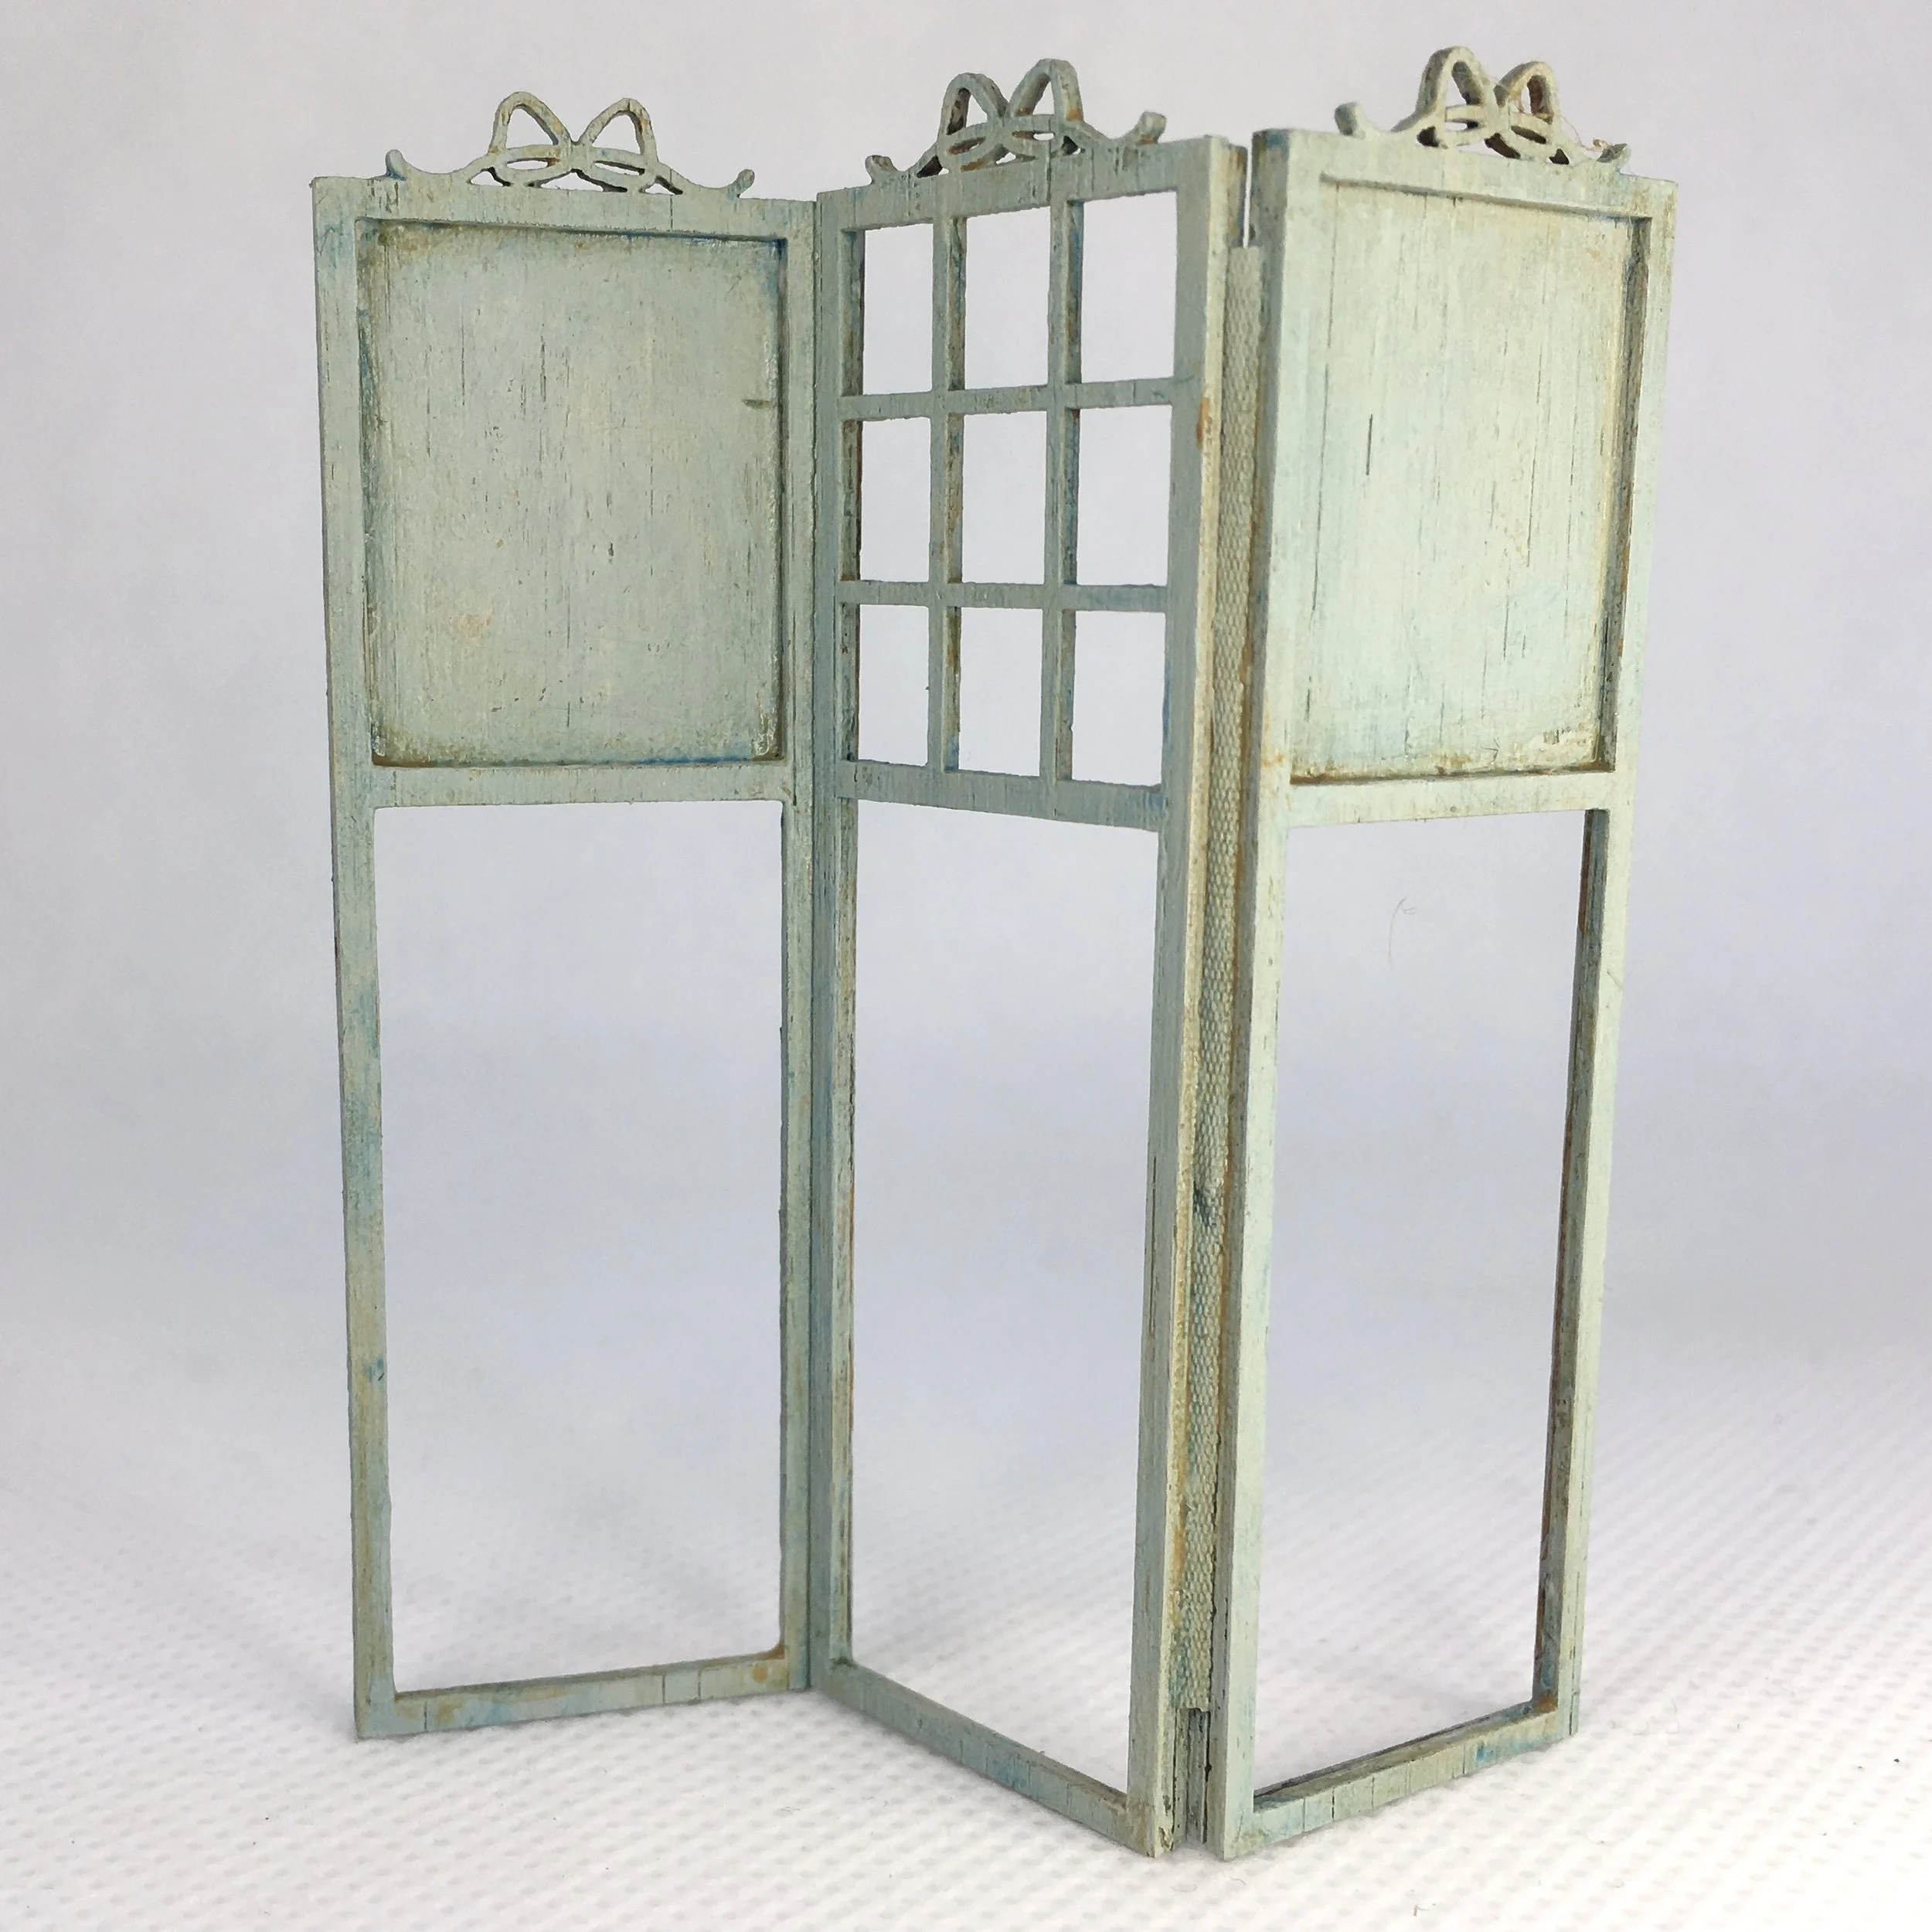
Same screen now with a blue antiquing mix over the base colour
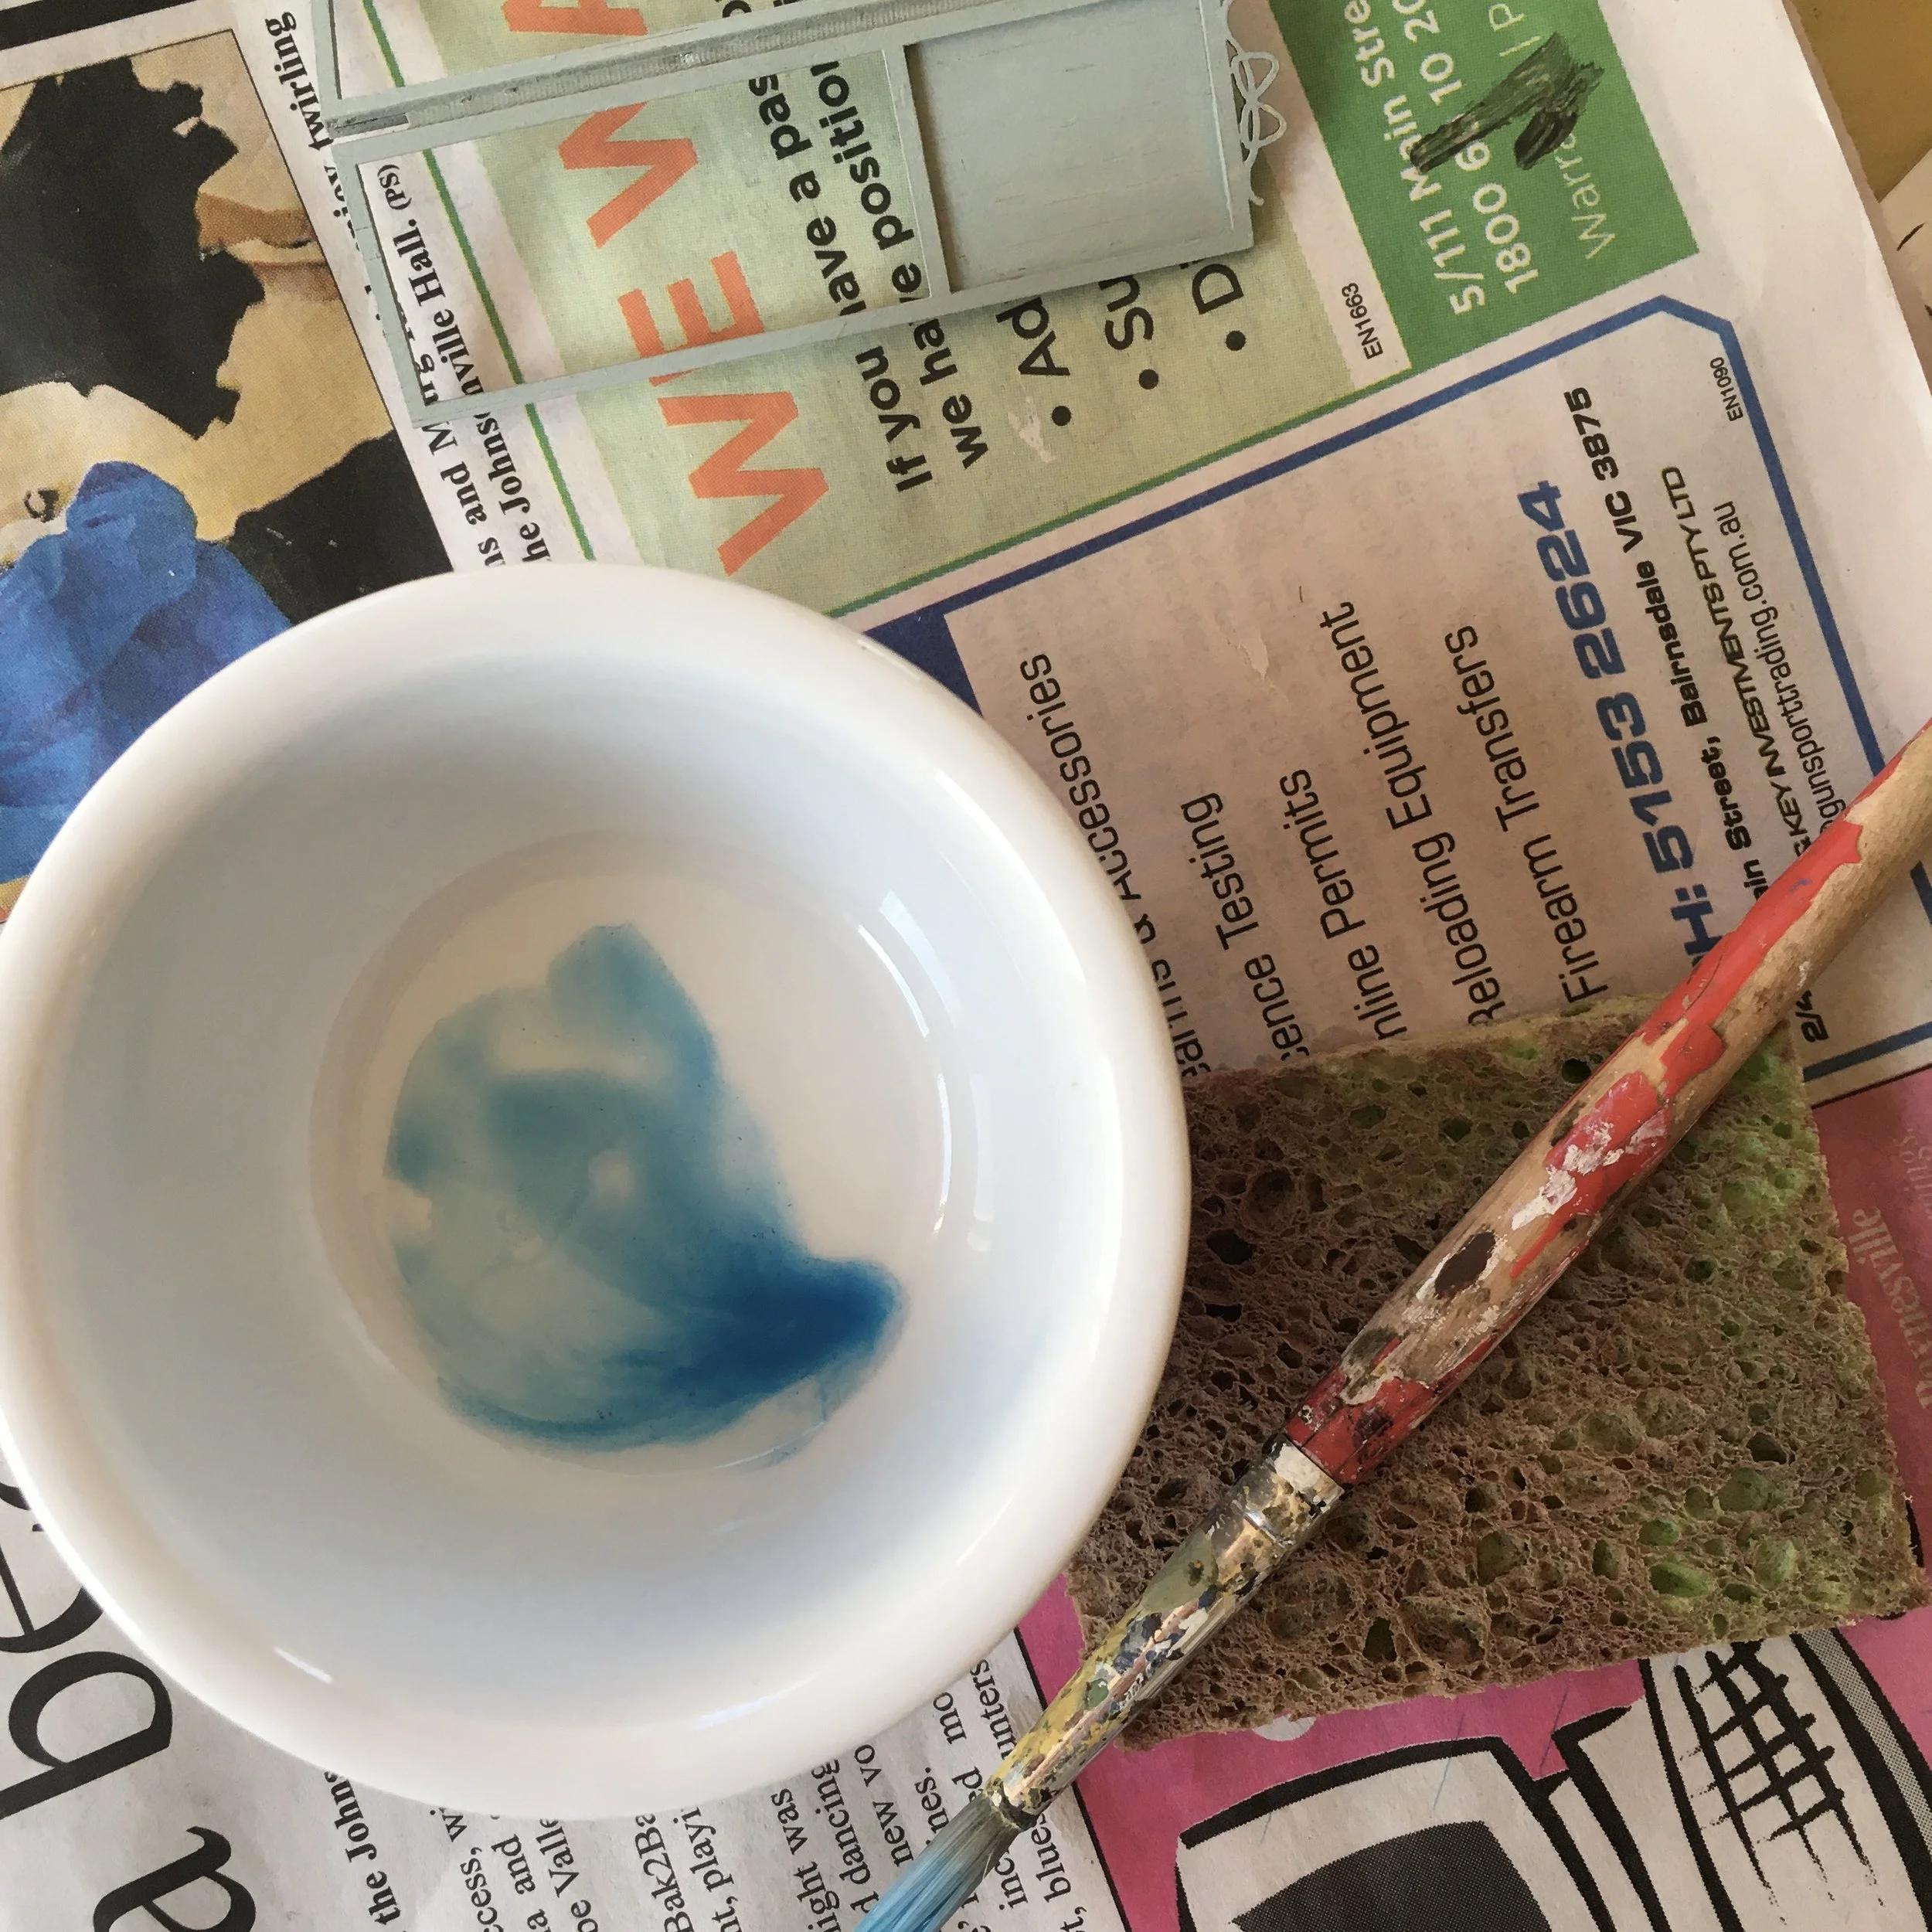
My blue antiquing mix - a little paint with a few drops of retarder medium
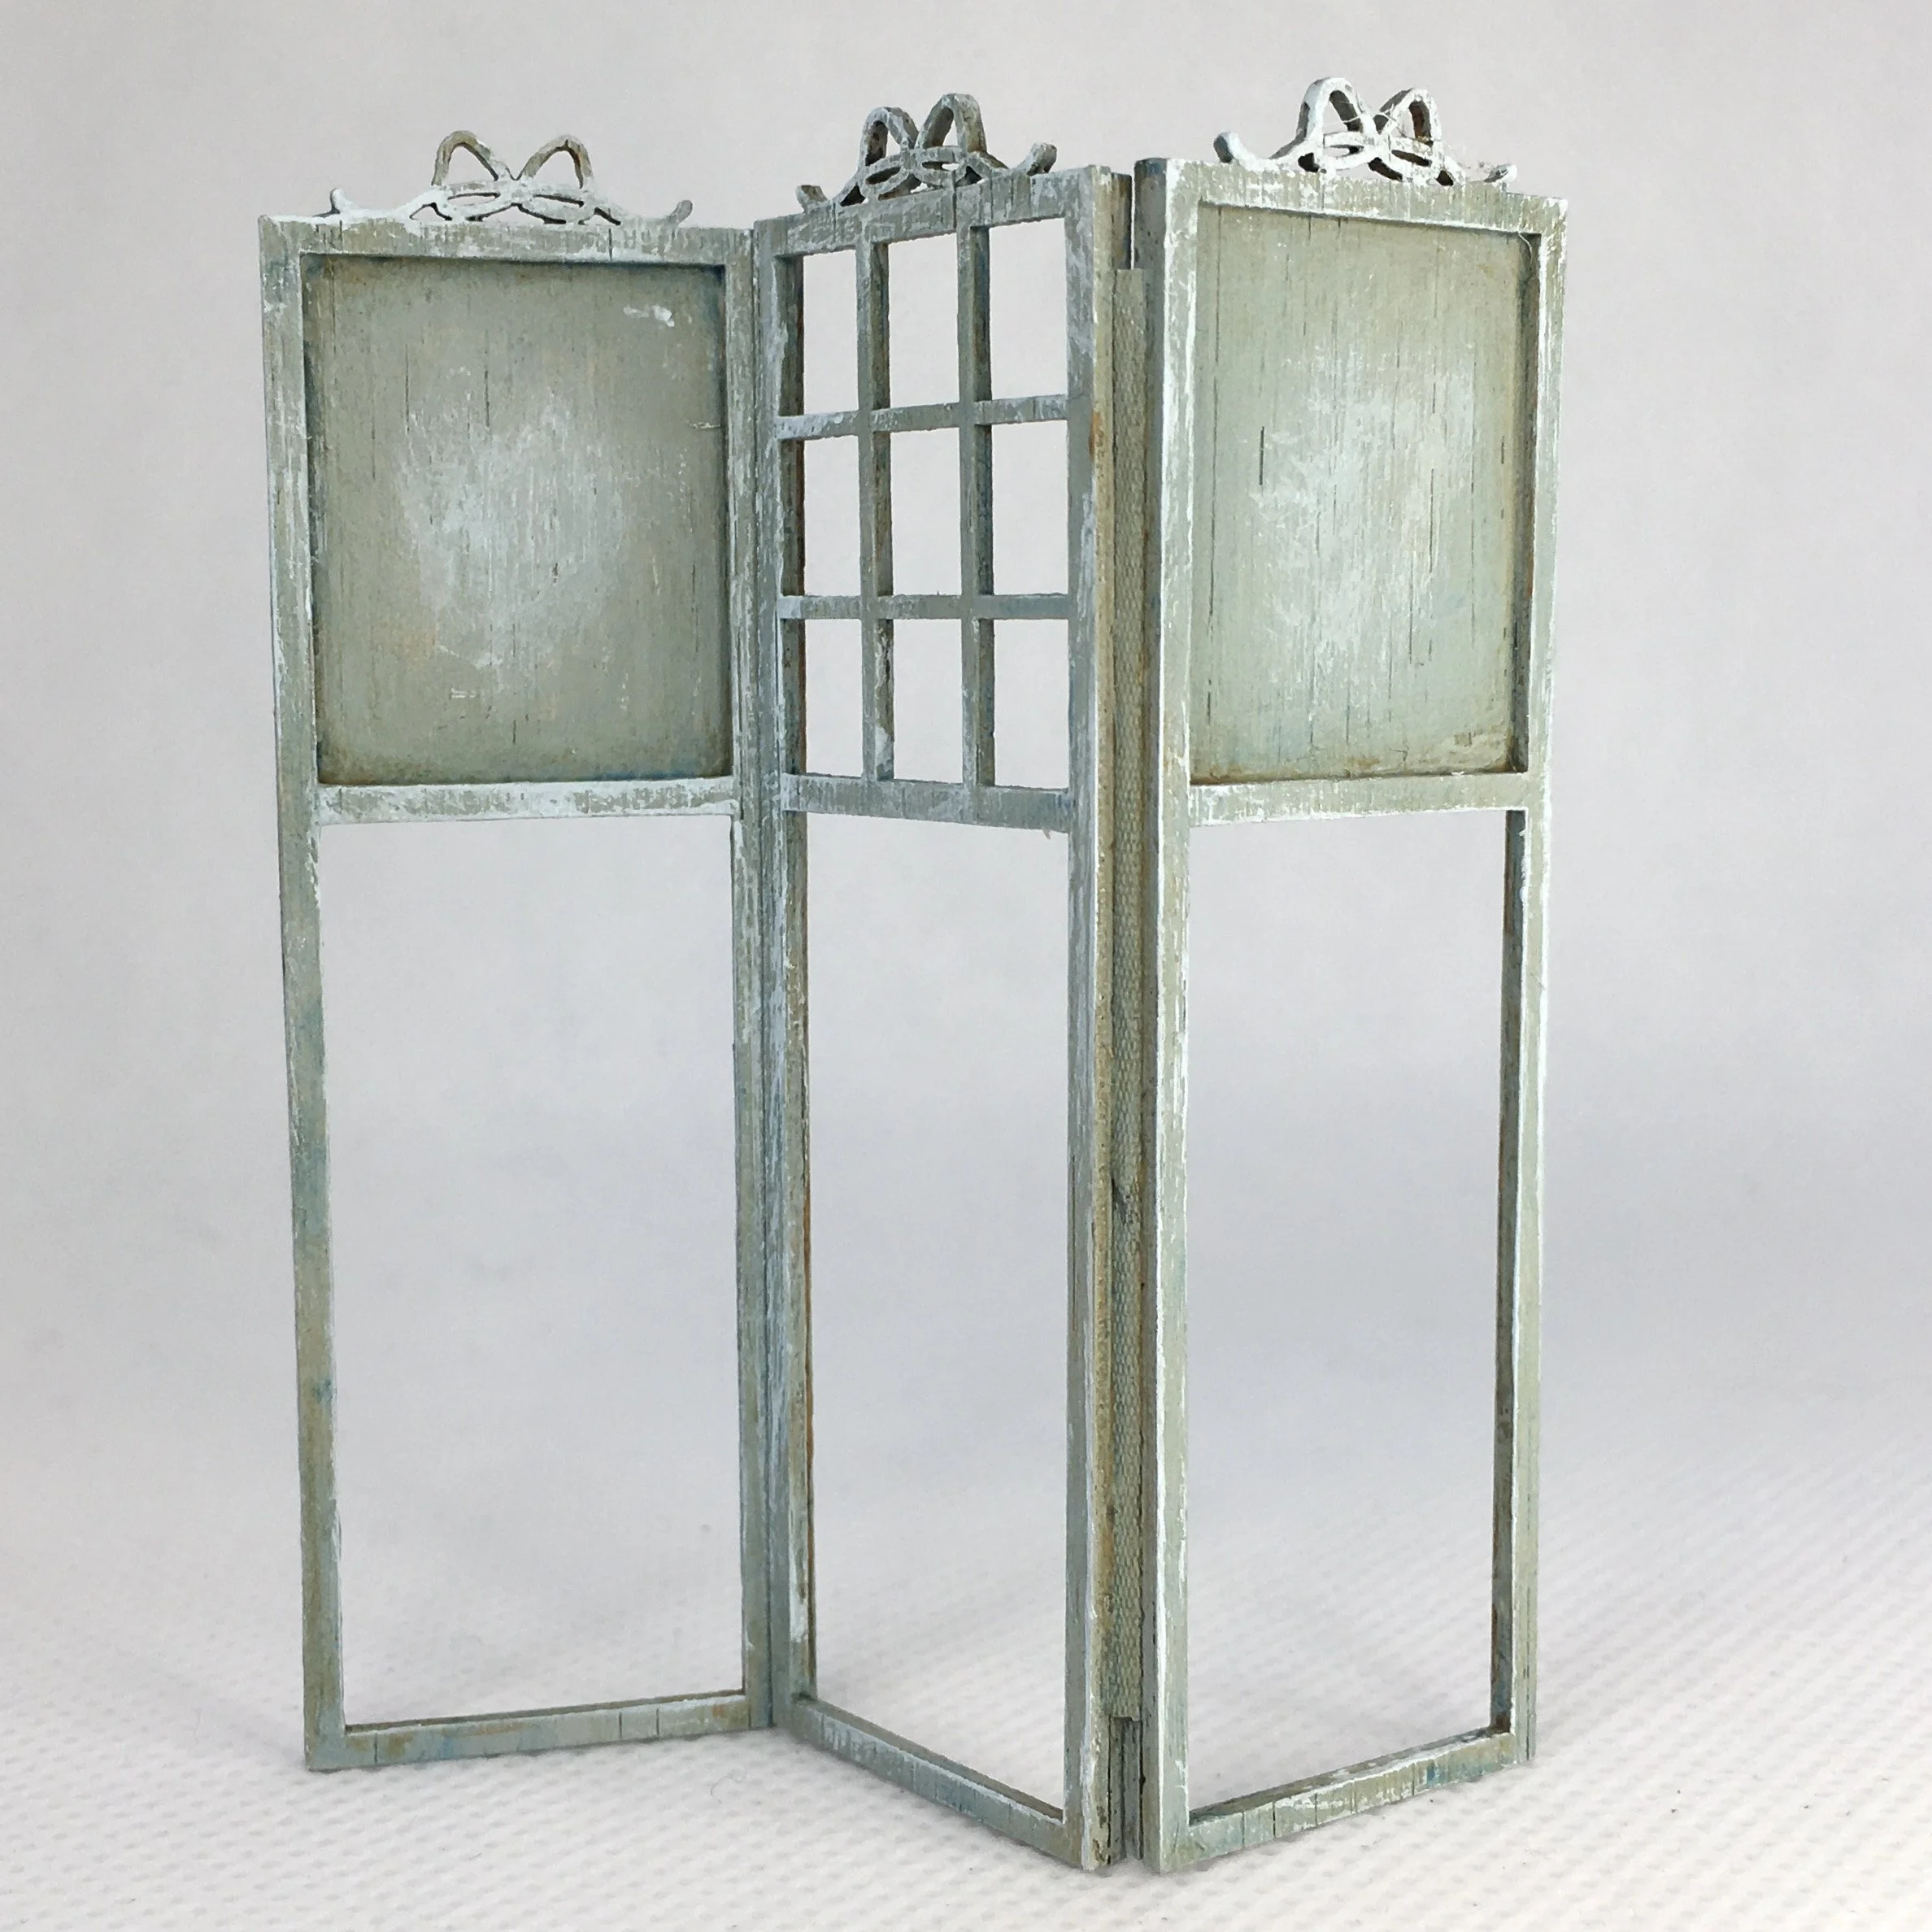
And now with a golden oak gel stain applied and wiped around with a damp sponge
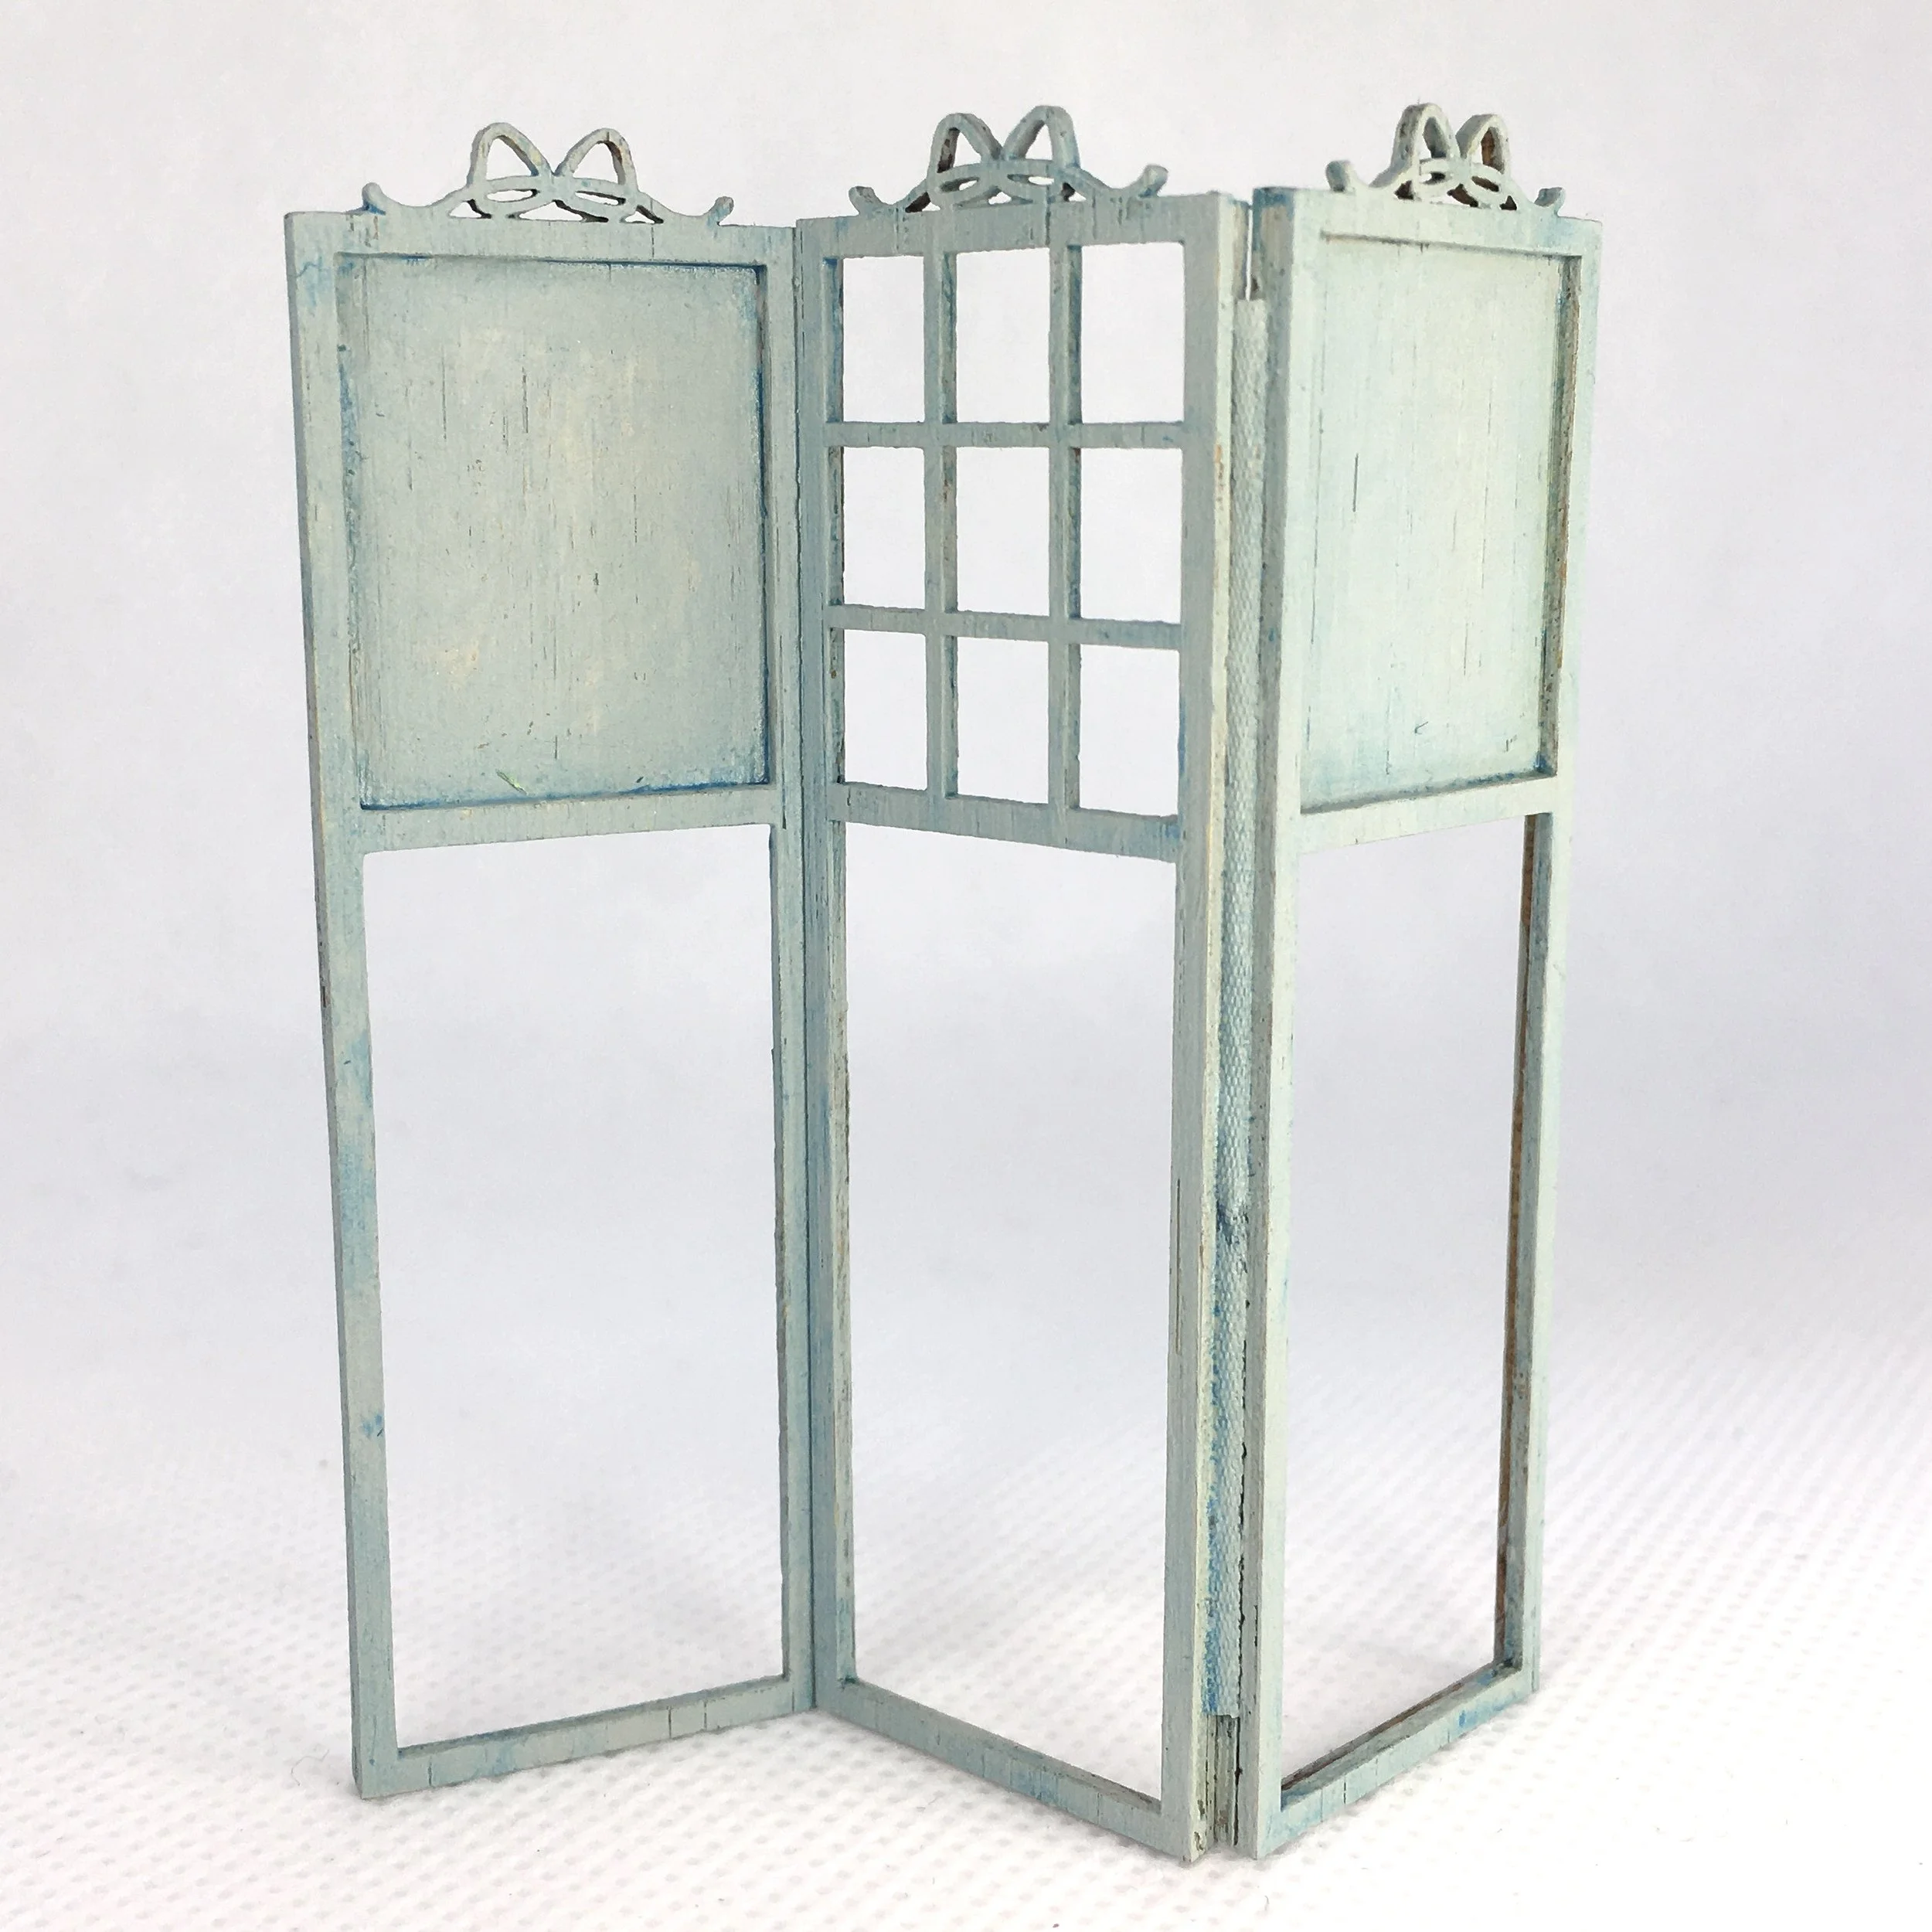
The screen now with a pale blue dry brushing
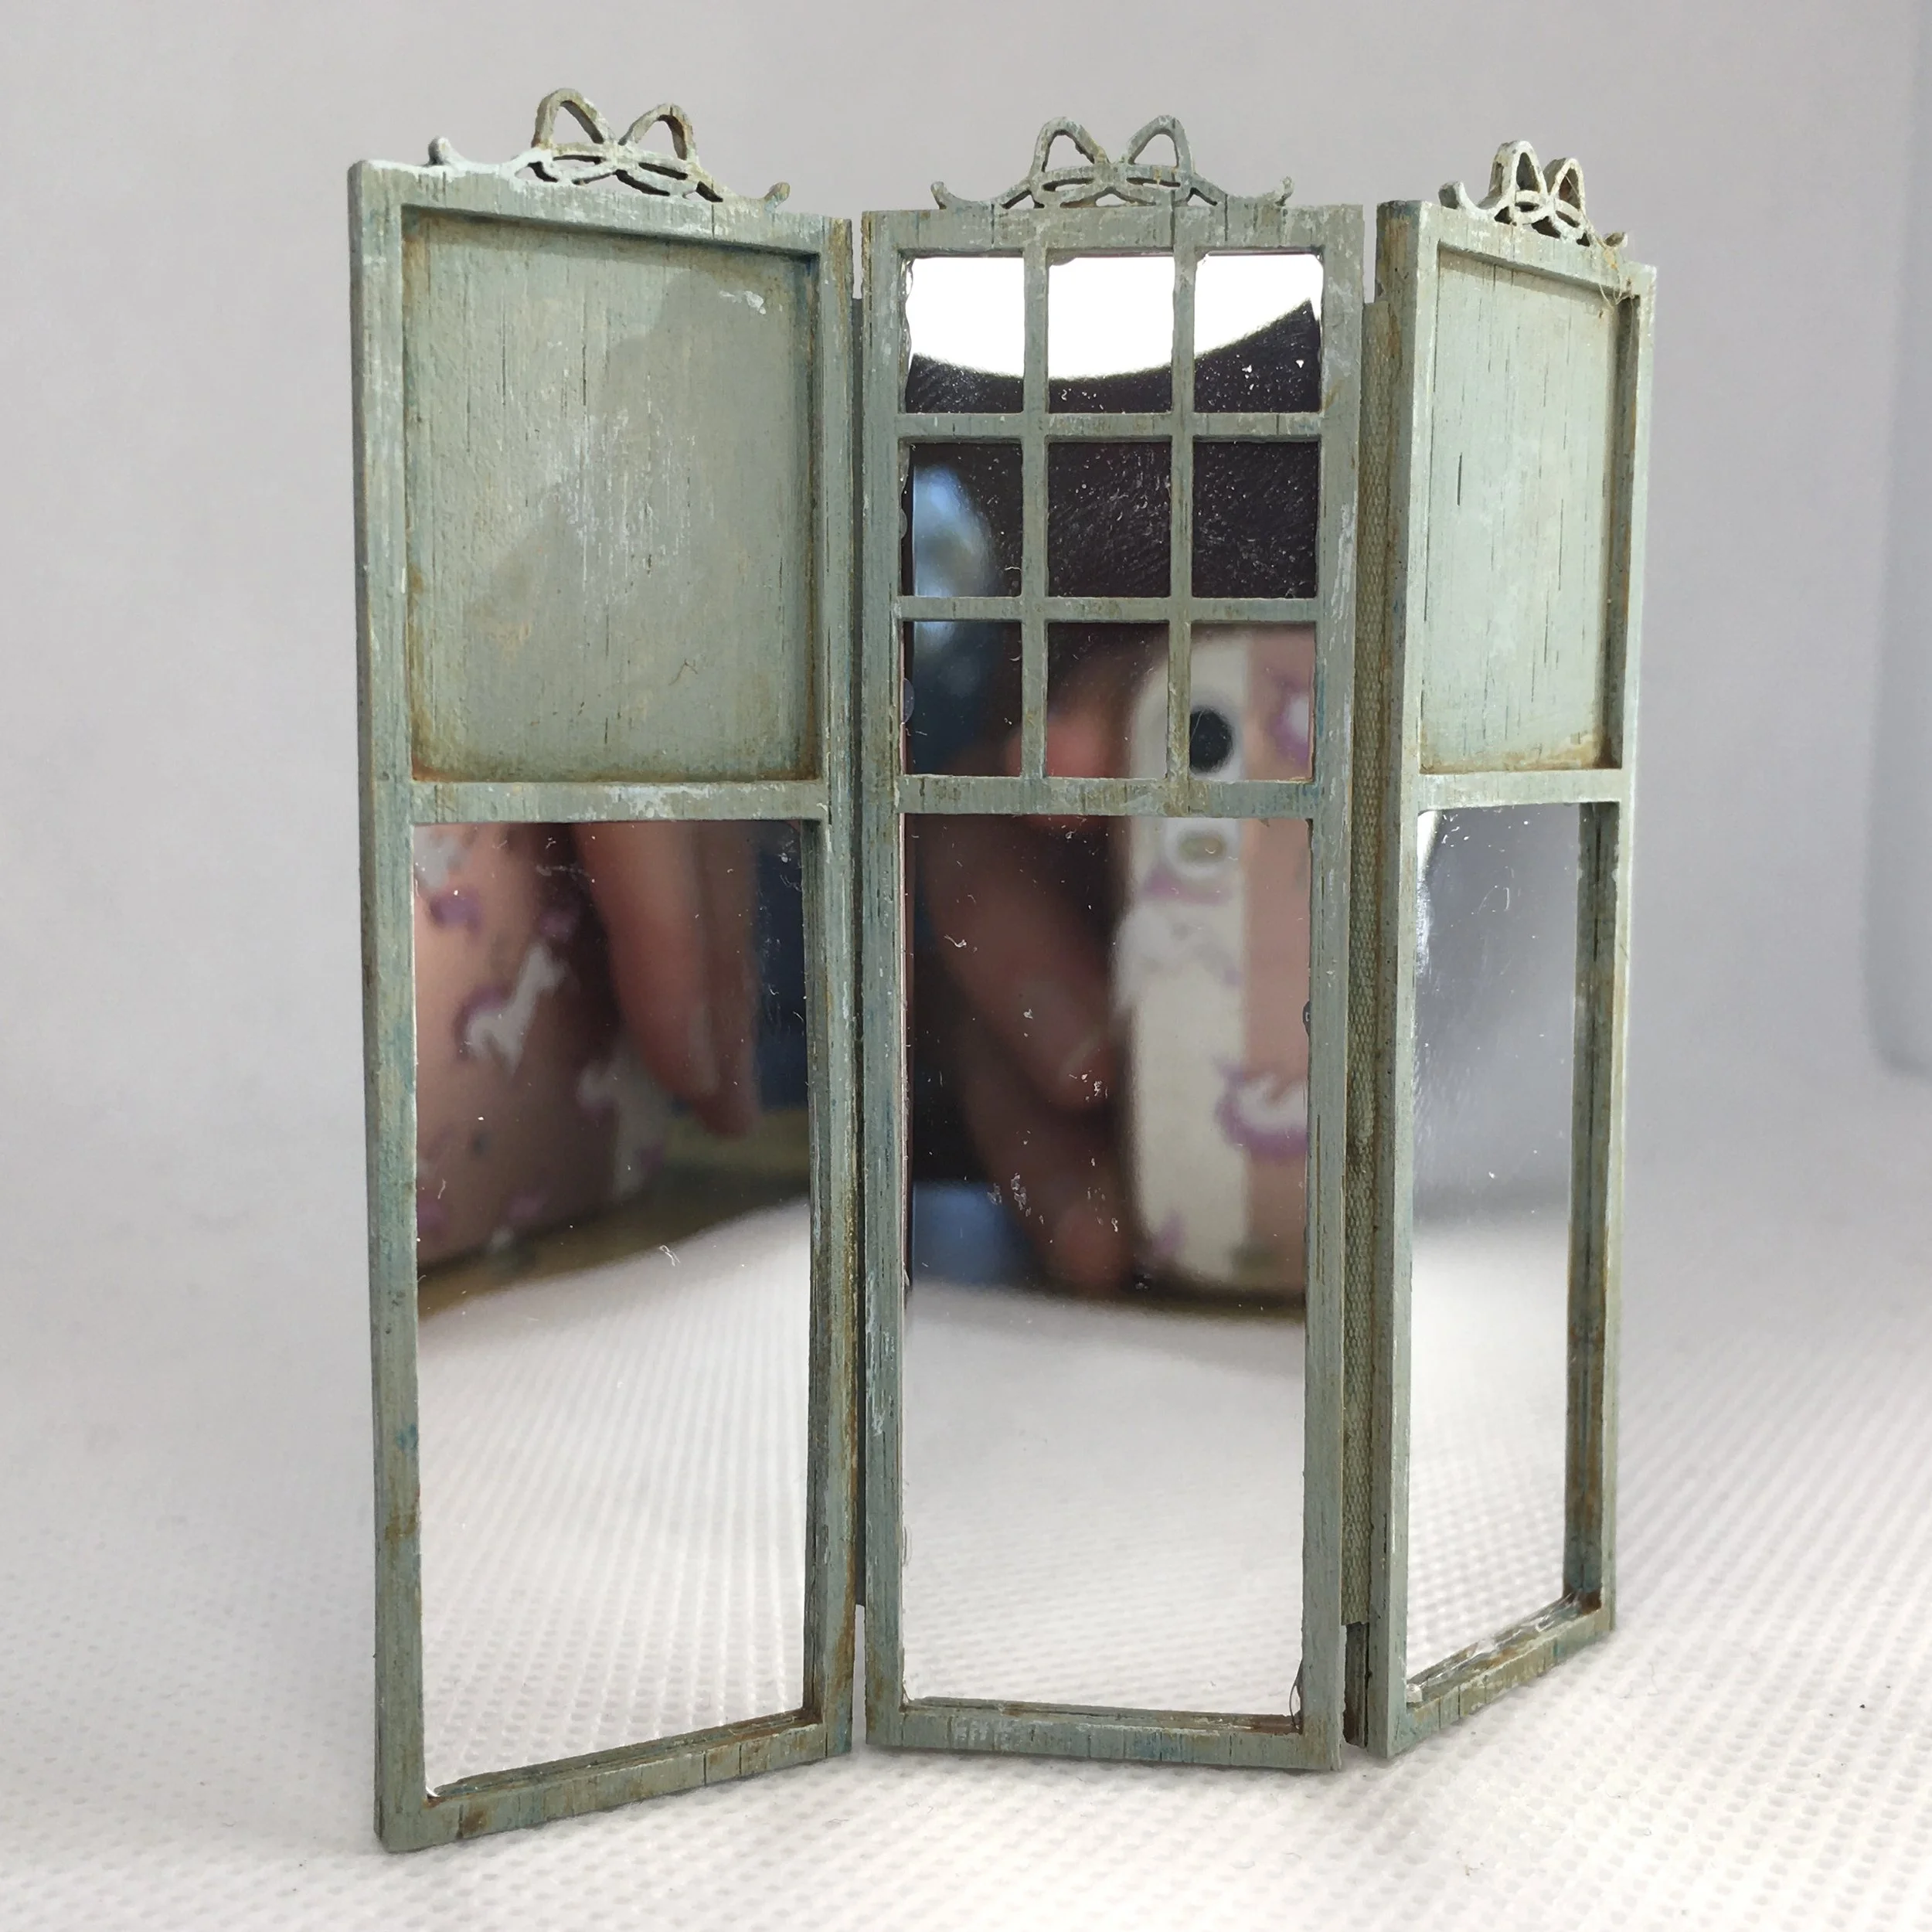
And the screen finished! I actually added another light layer of the golden oak stain to tone down the dry brushing (and there’s no getting away from reflected phone images is there???)
Extenders or retarders are handy to have as they will thin down paint without reducing the opacity of the paint very much. This is really handy for getting fine, crisp lines or strokes for detail painting. I don’t think there is a difference (I think it’s just different terms for the same thing), but I have used Jo Sonja and Plaid Folkart ones and been really happy with the results.
You don’t need good/fine brushes unless you are painting fine details or tiny pictures. In fact, painting wood kits is rough on brushes, so keep your really good and small brushes for fine details or touching up.
And that is about all I can think of to tell you. If you have questions or anything to add, please let me know. I hope this info helps you out a little!