Make some fun accessories easily
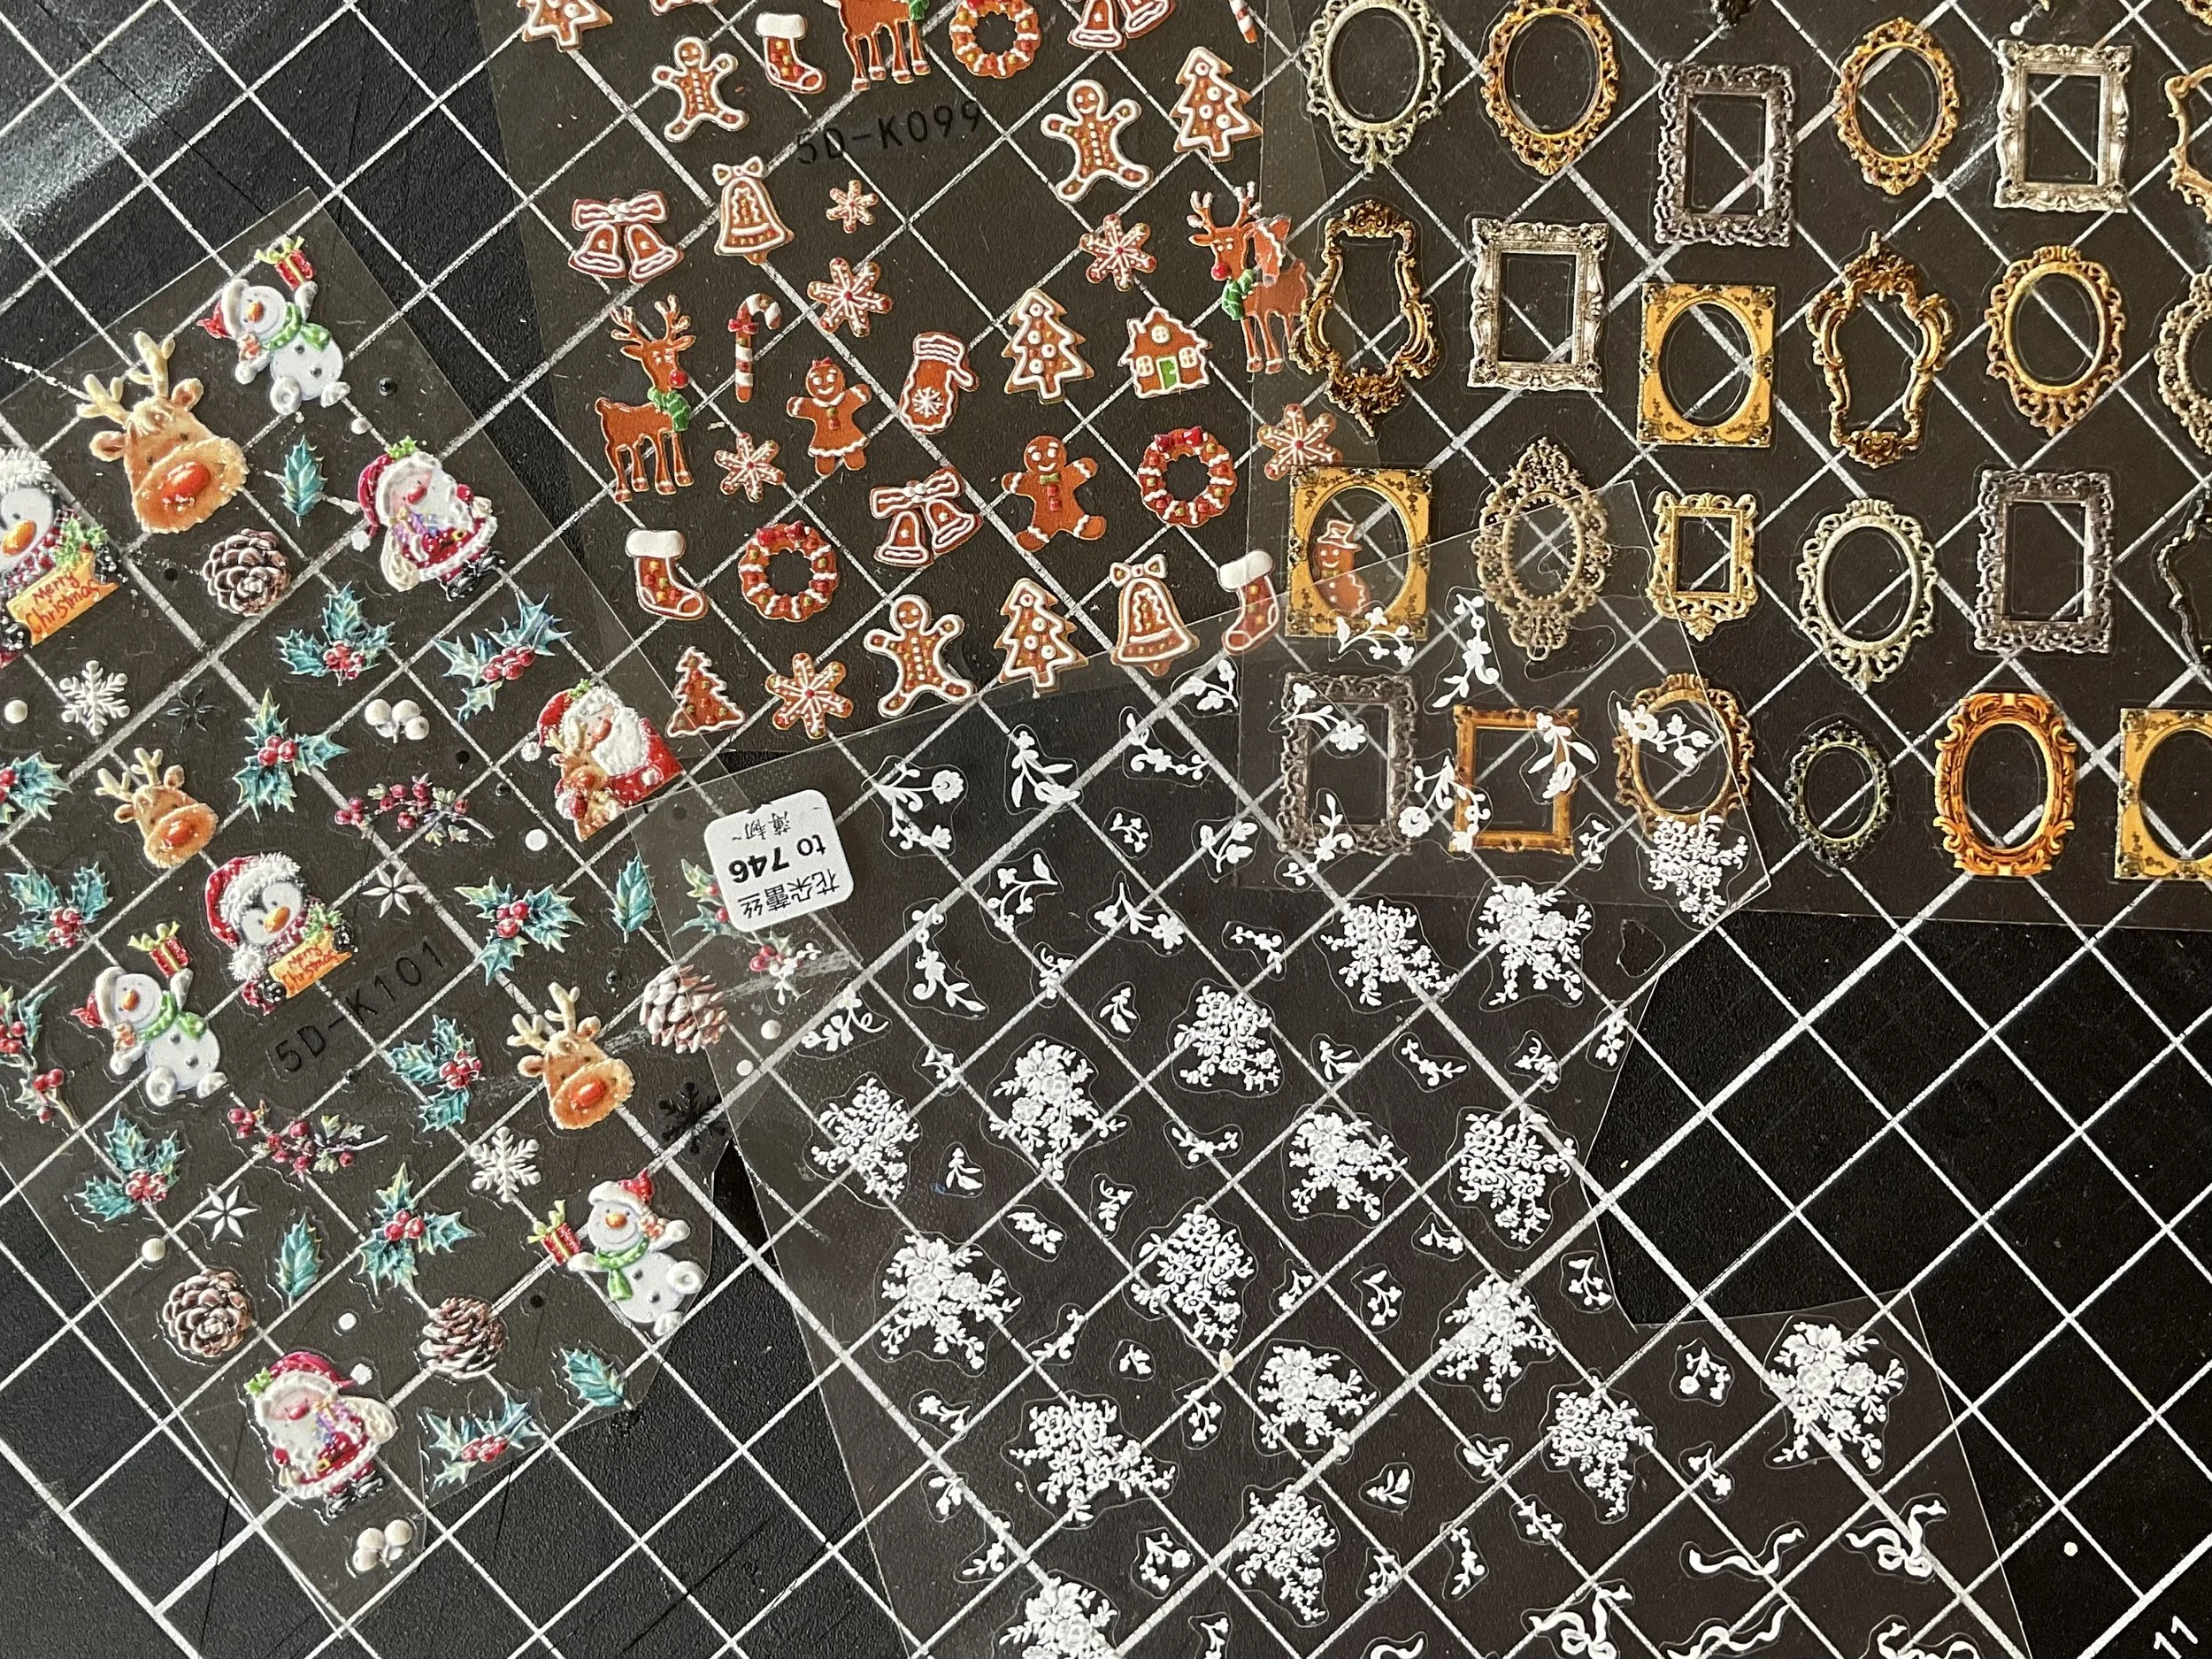
Hi all. I don’t think I’m alone in trying to find cute, easy, cheap accessories for adding to my mini scenes and don’t want to spend hours making things. A little while ago, I came across these nail art decals. I know, they’re not a new thing, but these ones are dimensional and the range is incredible - every single theme you could possibly think of! These are just a few I already have (with more in the mail!):
So below are just a few things I made very easily with a few basic supplies: card/paper/scraps of patterned paper (I used mini wallpapers from Itsy Bitty Minis), scissors, craft knife, ruler, cutting mat, watercolour pencils/paints/coloured pencils, embroidery floss and silk ribbon. And the nail decals!
Firstly, I made tiny framed photos by gluing the frames onto tiny printed photographs I found online. You could then stick the framed picture onto card and carefully cut out. Useful for all scales.
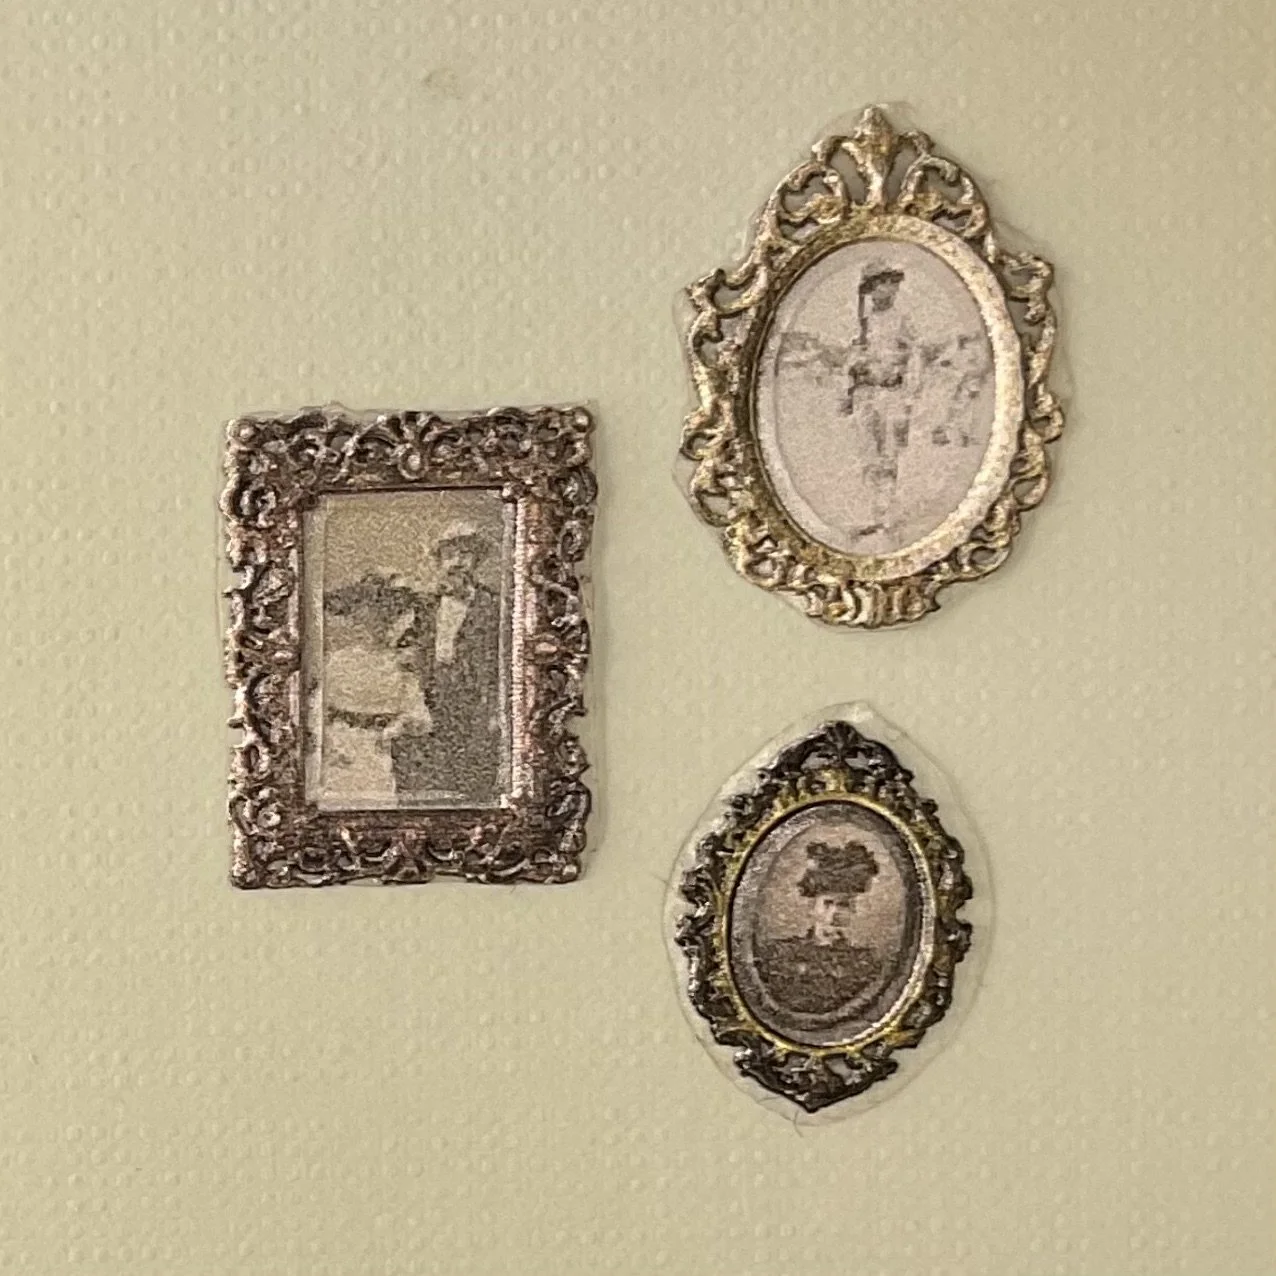
(Keep in mind this photo is greatly enlarged! In real life, they look pretty good!)
I made tiny cookies by gluing the gingerbread cookie decals to a brown card, and cutting out. Although they are more suited to 1:12 scale, it is a basic idea you could adapt for 1:24 with other tiny decals (I see the tiny white sprigs shown above on a simple round cookie with coloured icing).
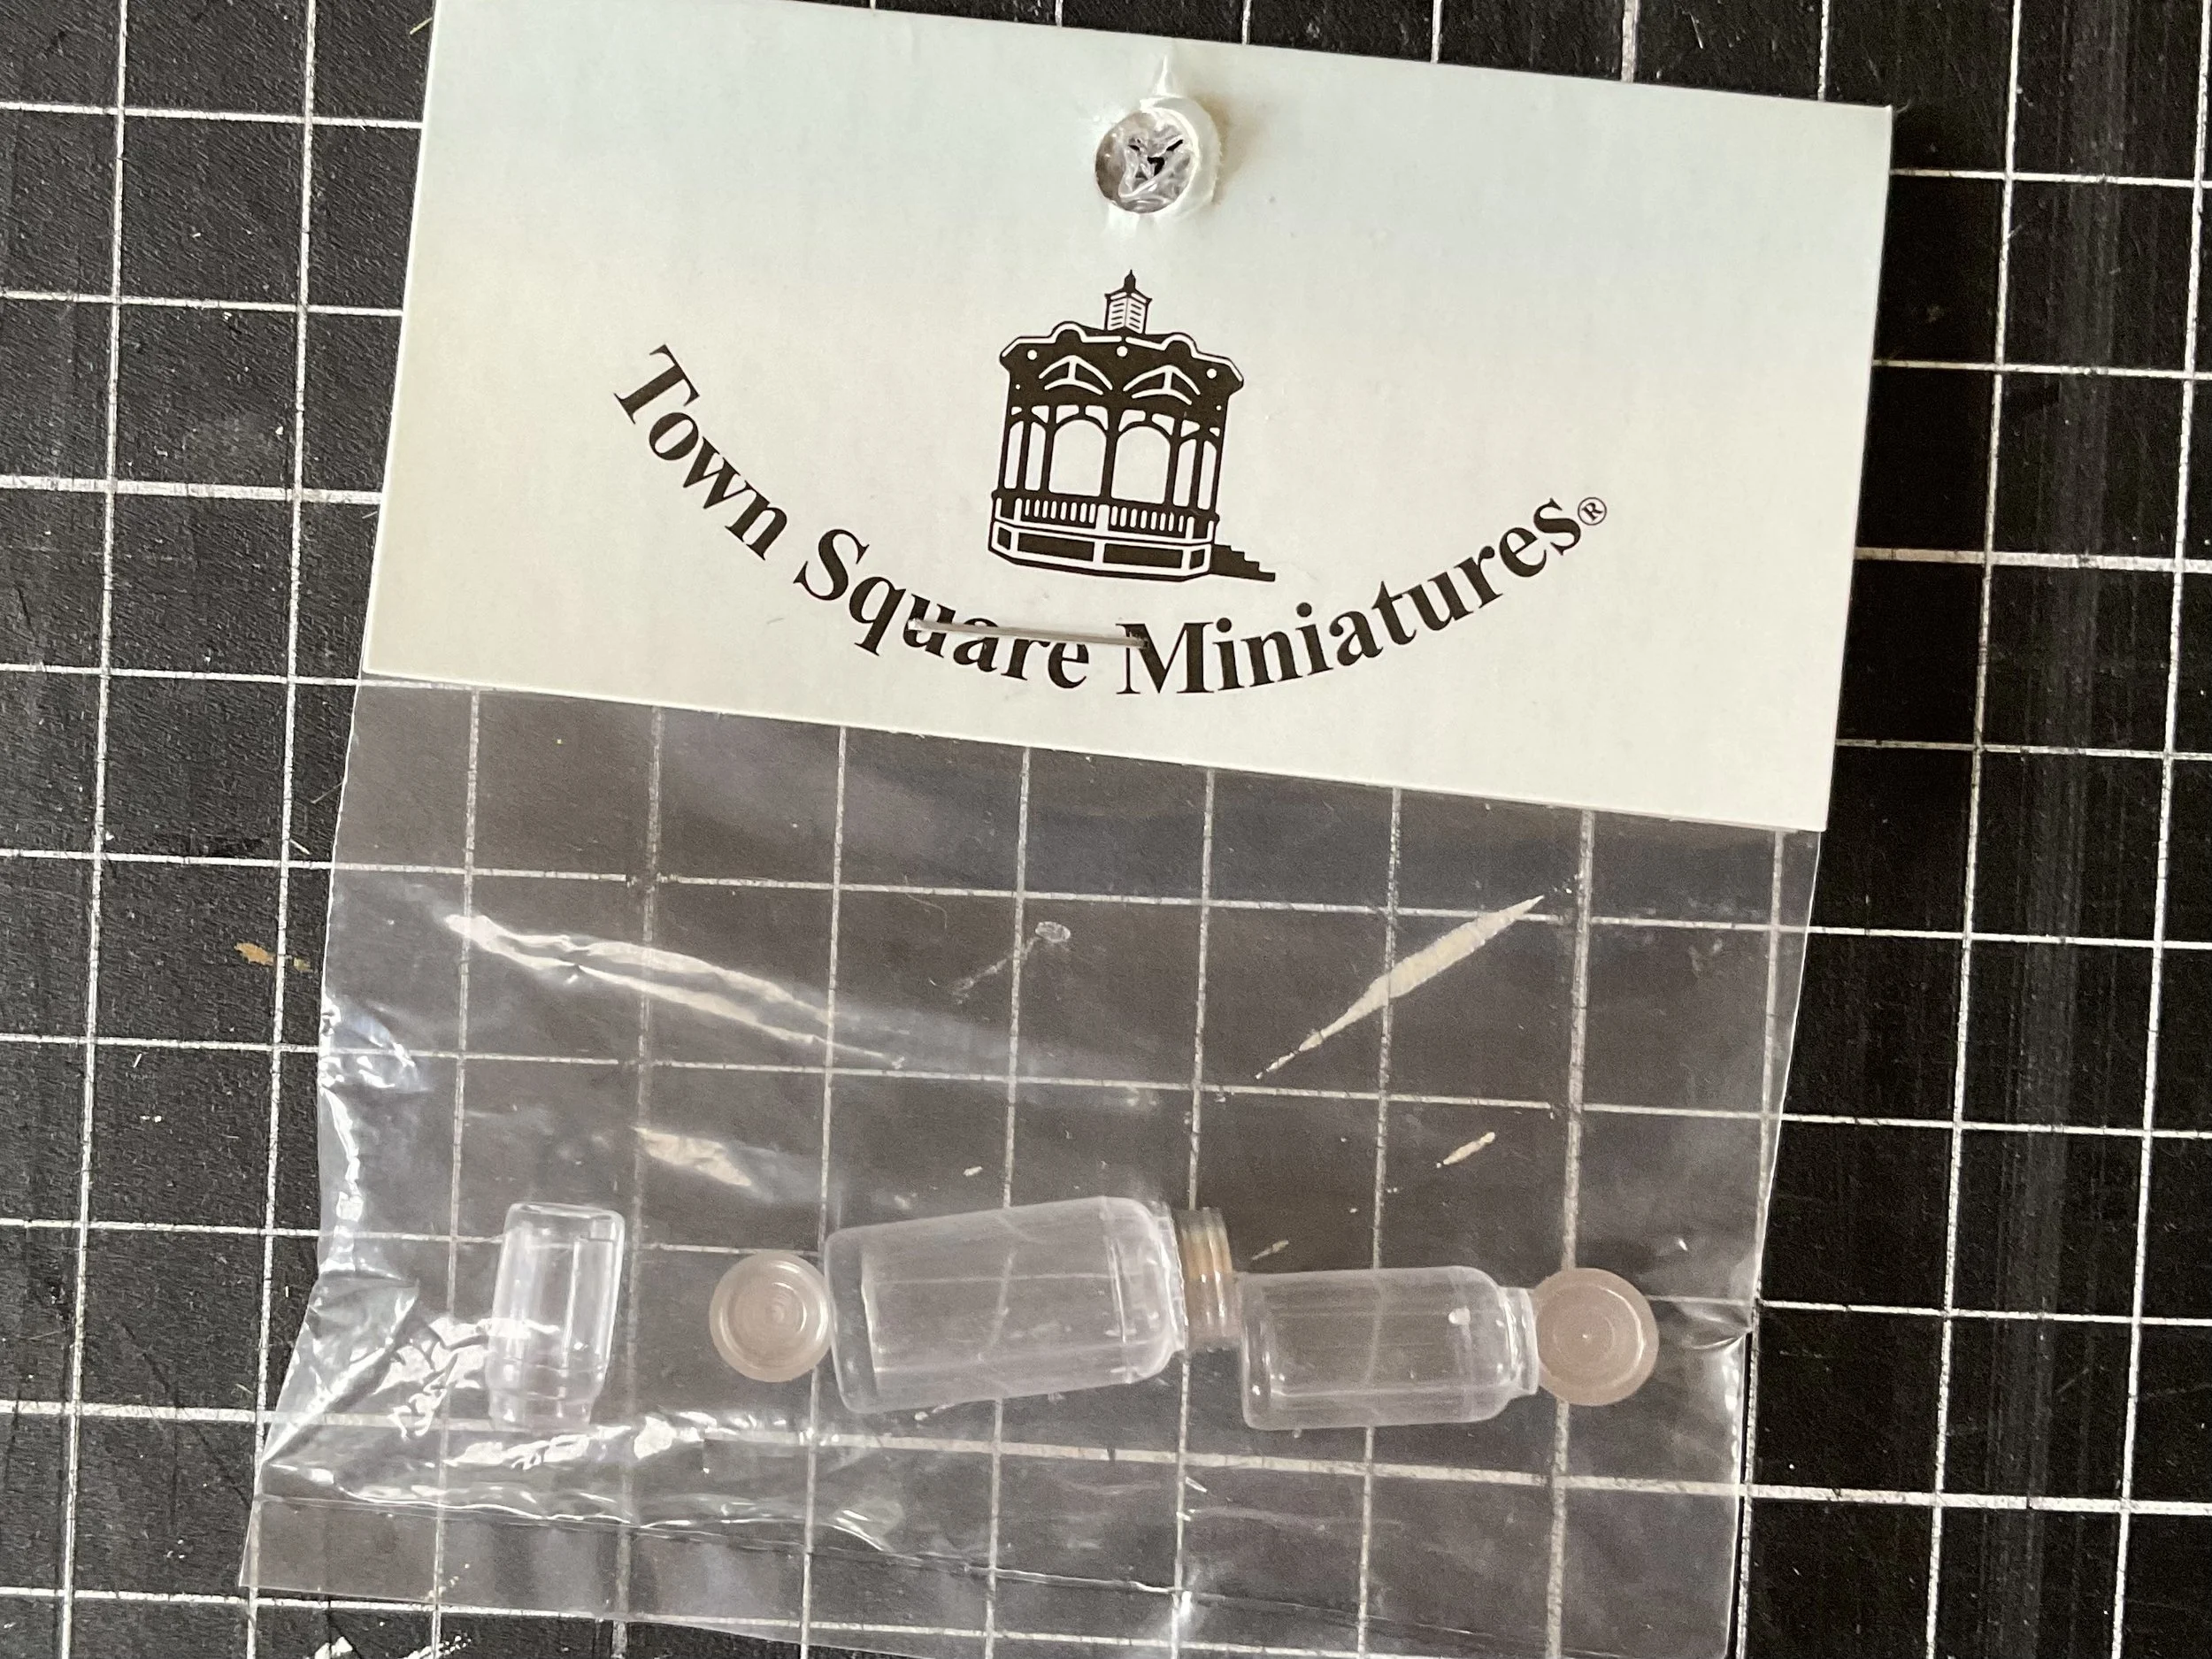
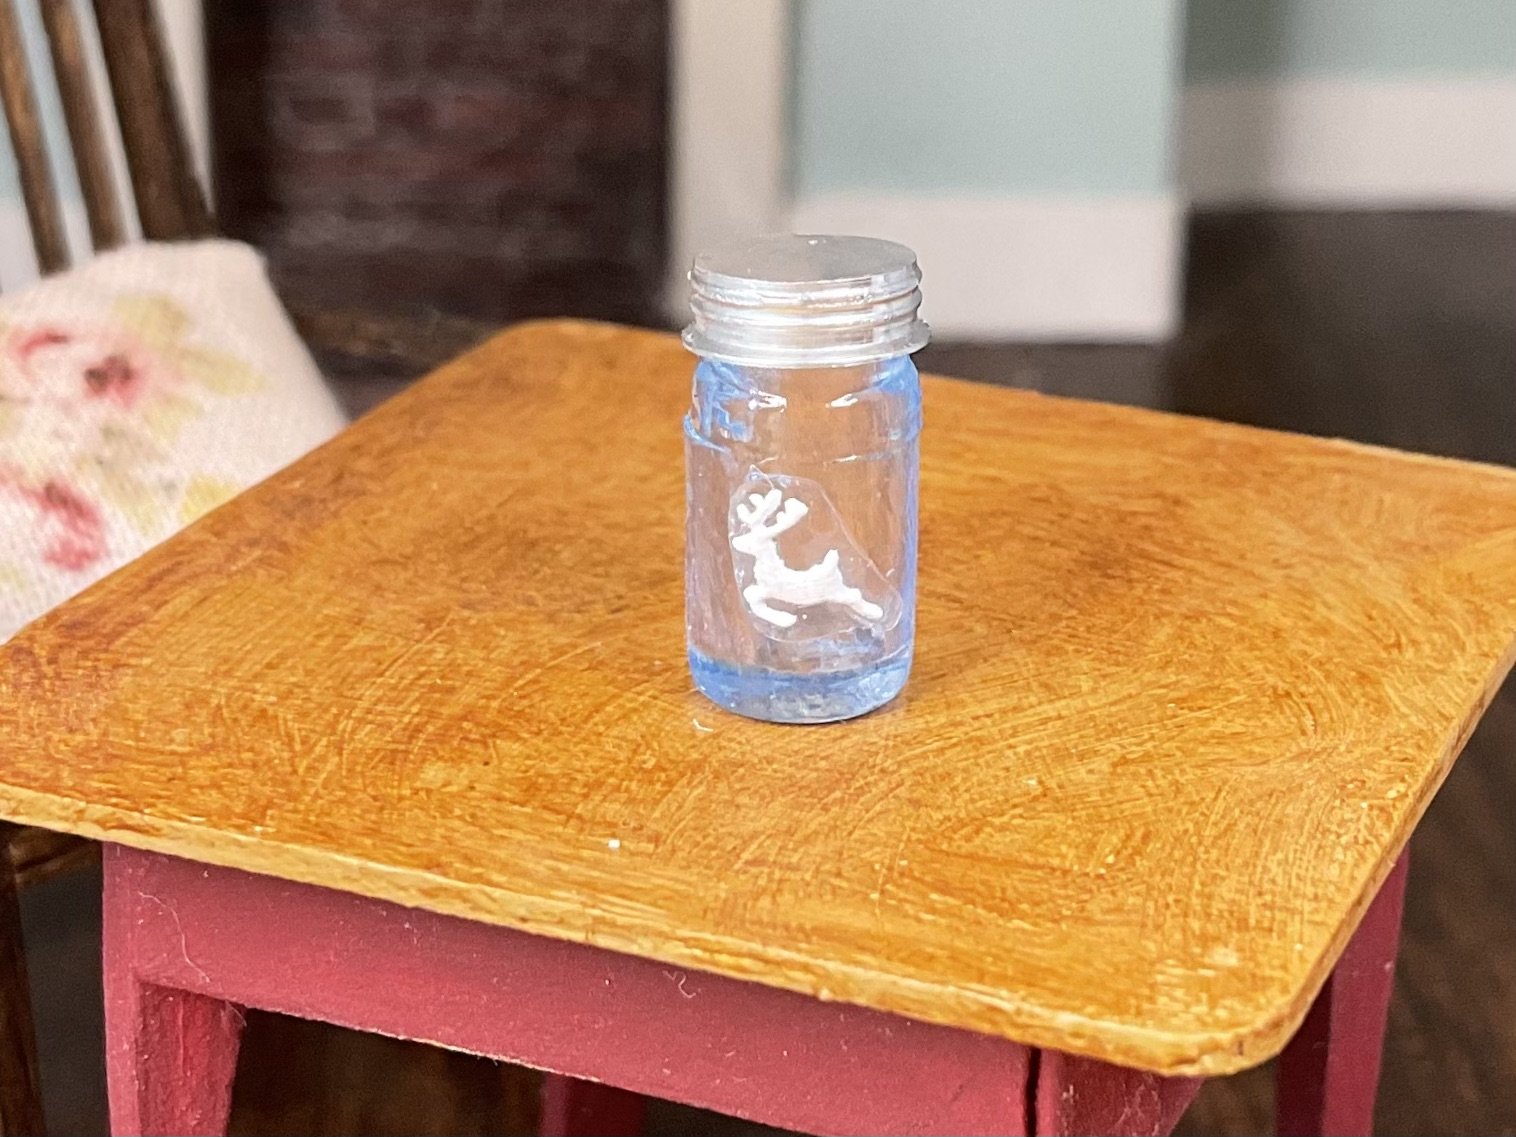
I painted a tiny jar with blue glass paint (mine is the Gallery Glass brand), then when it dried, stuck the decal on. Just be very careful positioning the decal though, as once the decal is stuck on, you will peel the paint off the jar if you try to reposition the decal. These are the jars (they’re actually 1:12 scale too, but the smallest is good for a large 1:24 jar):
Here’s my finished jar:
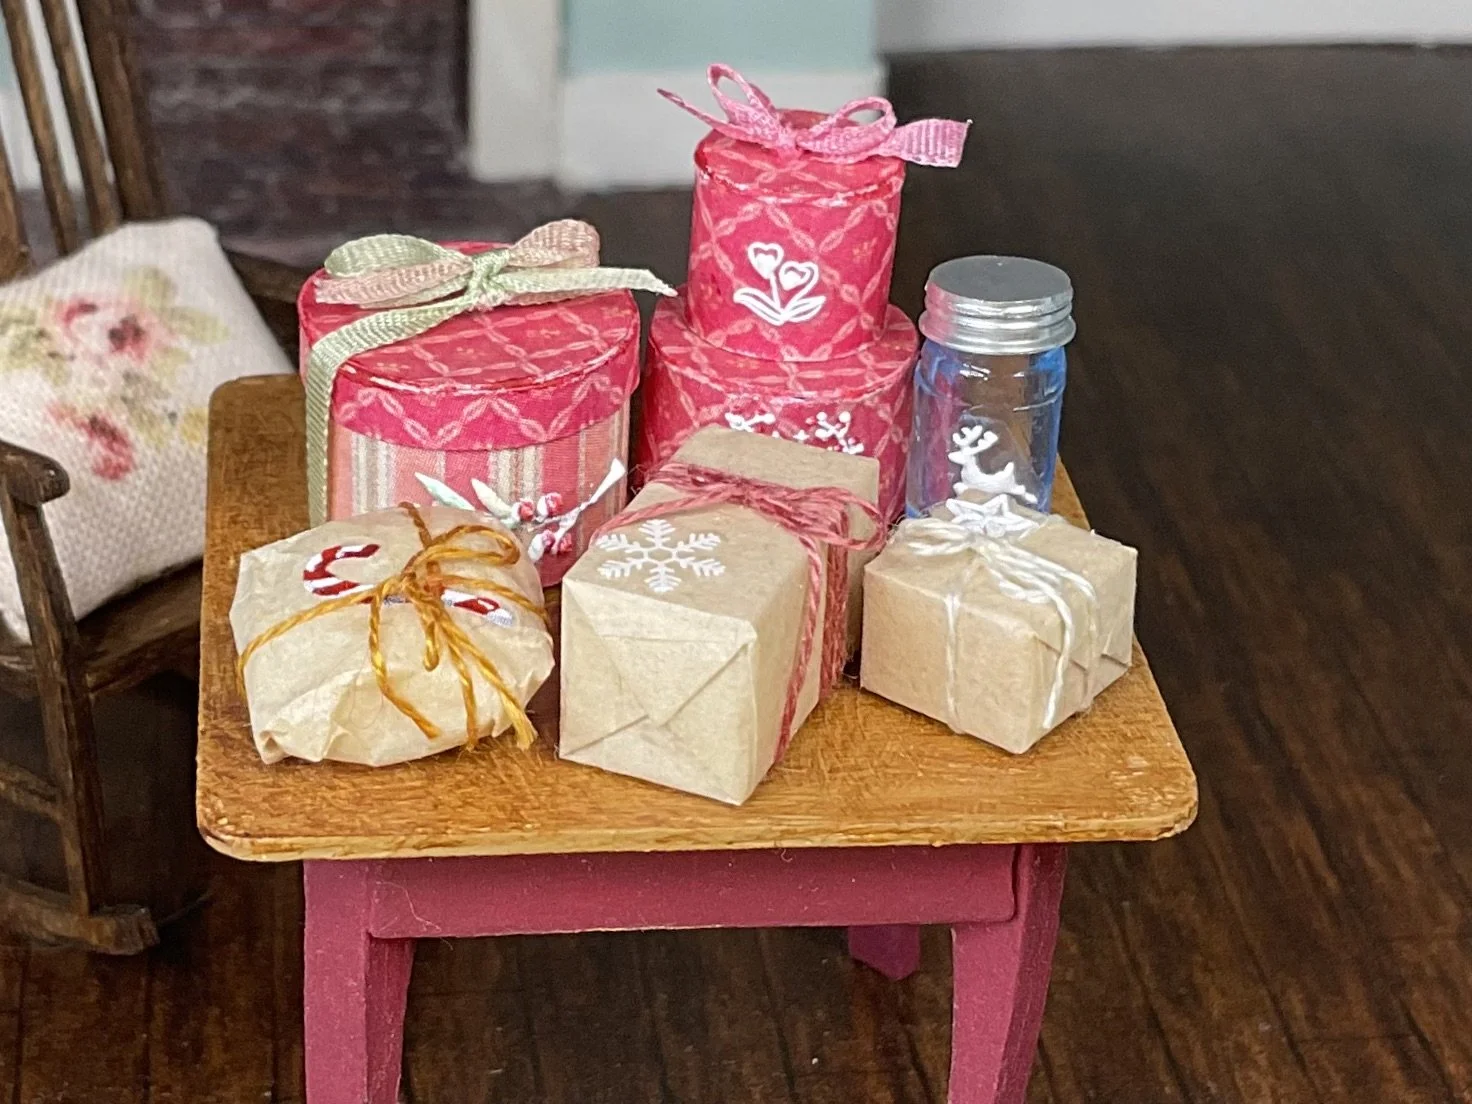
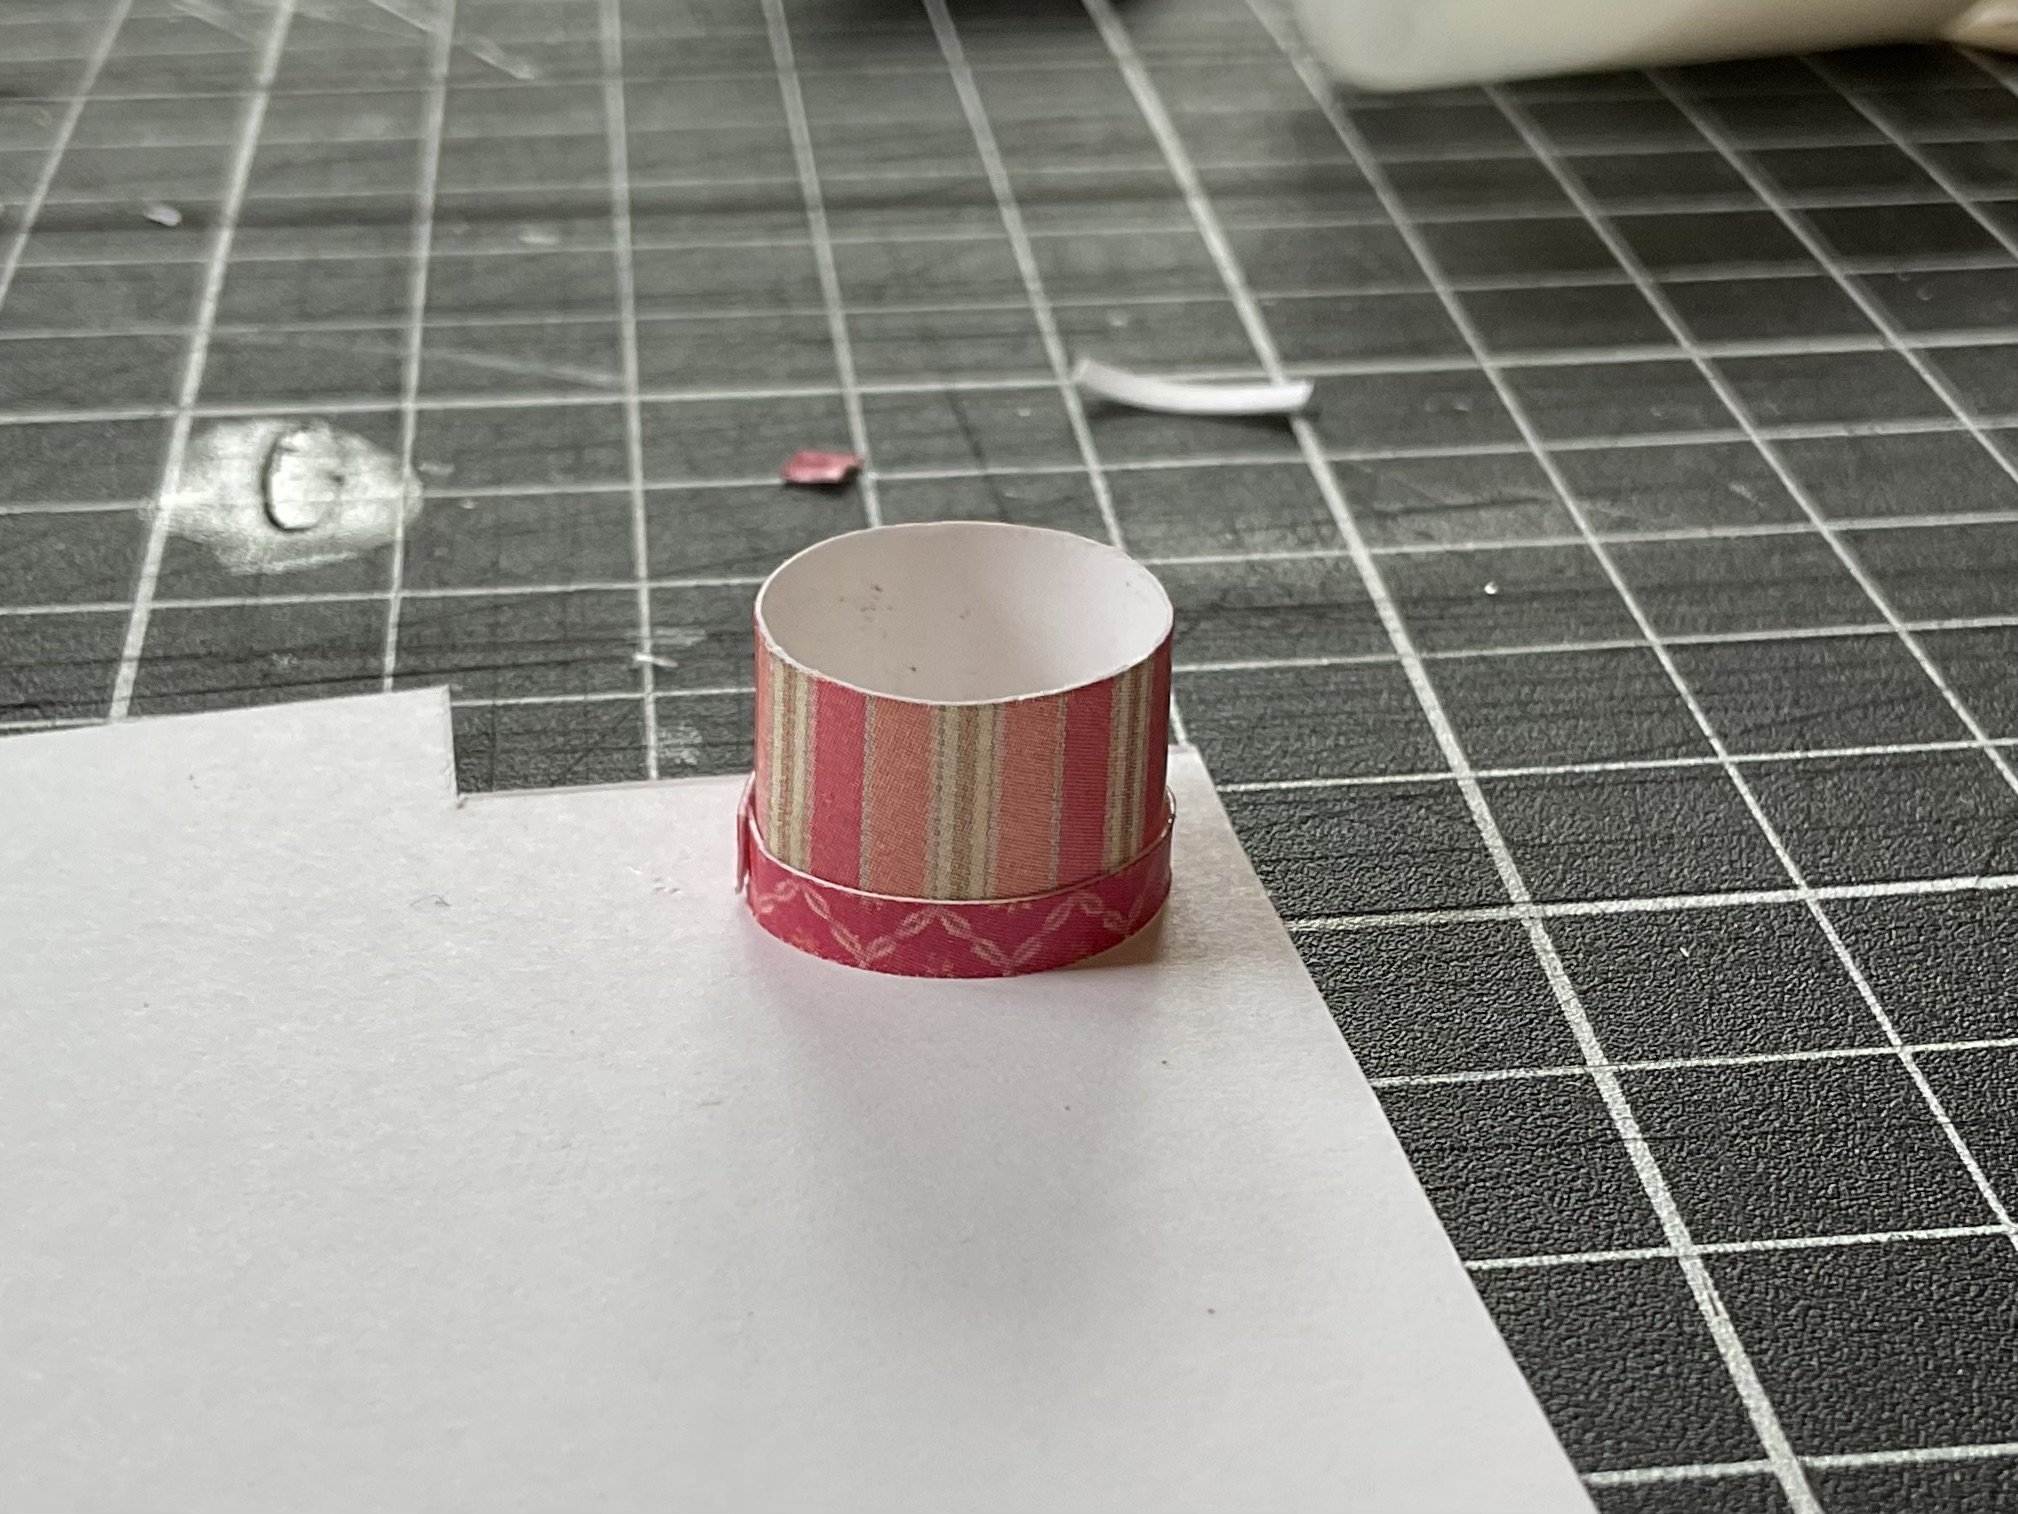
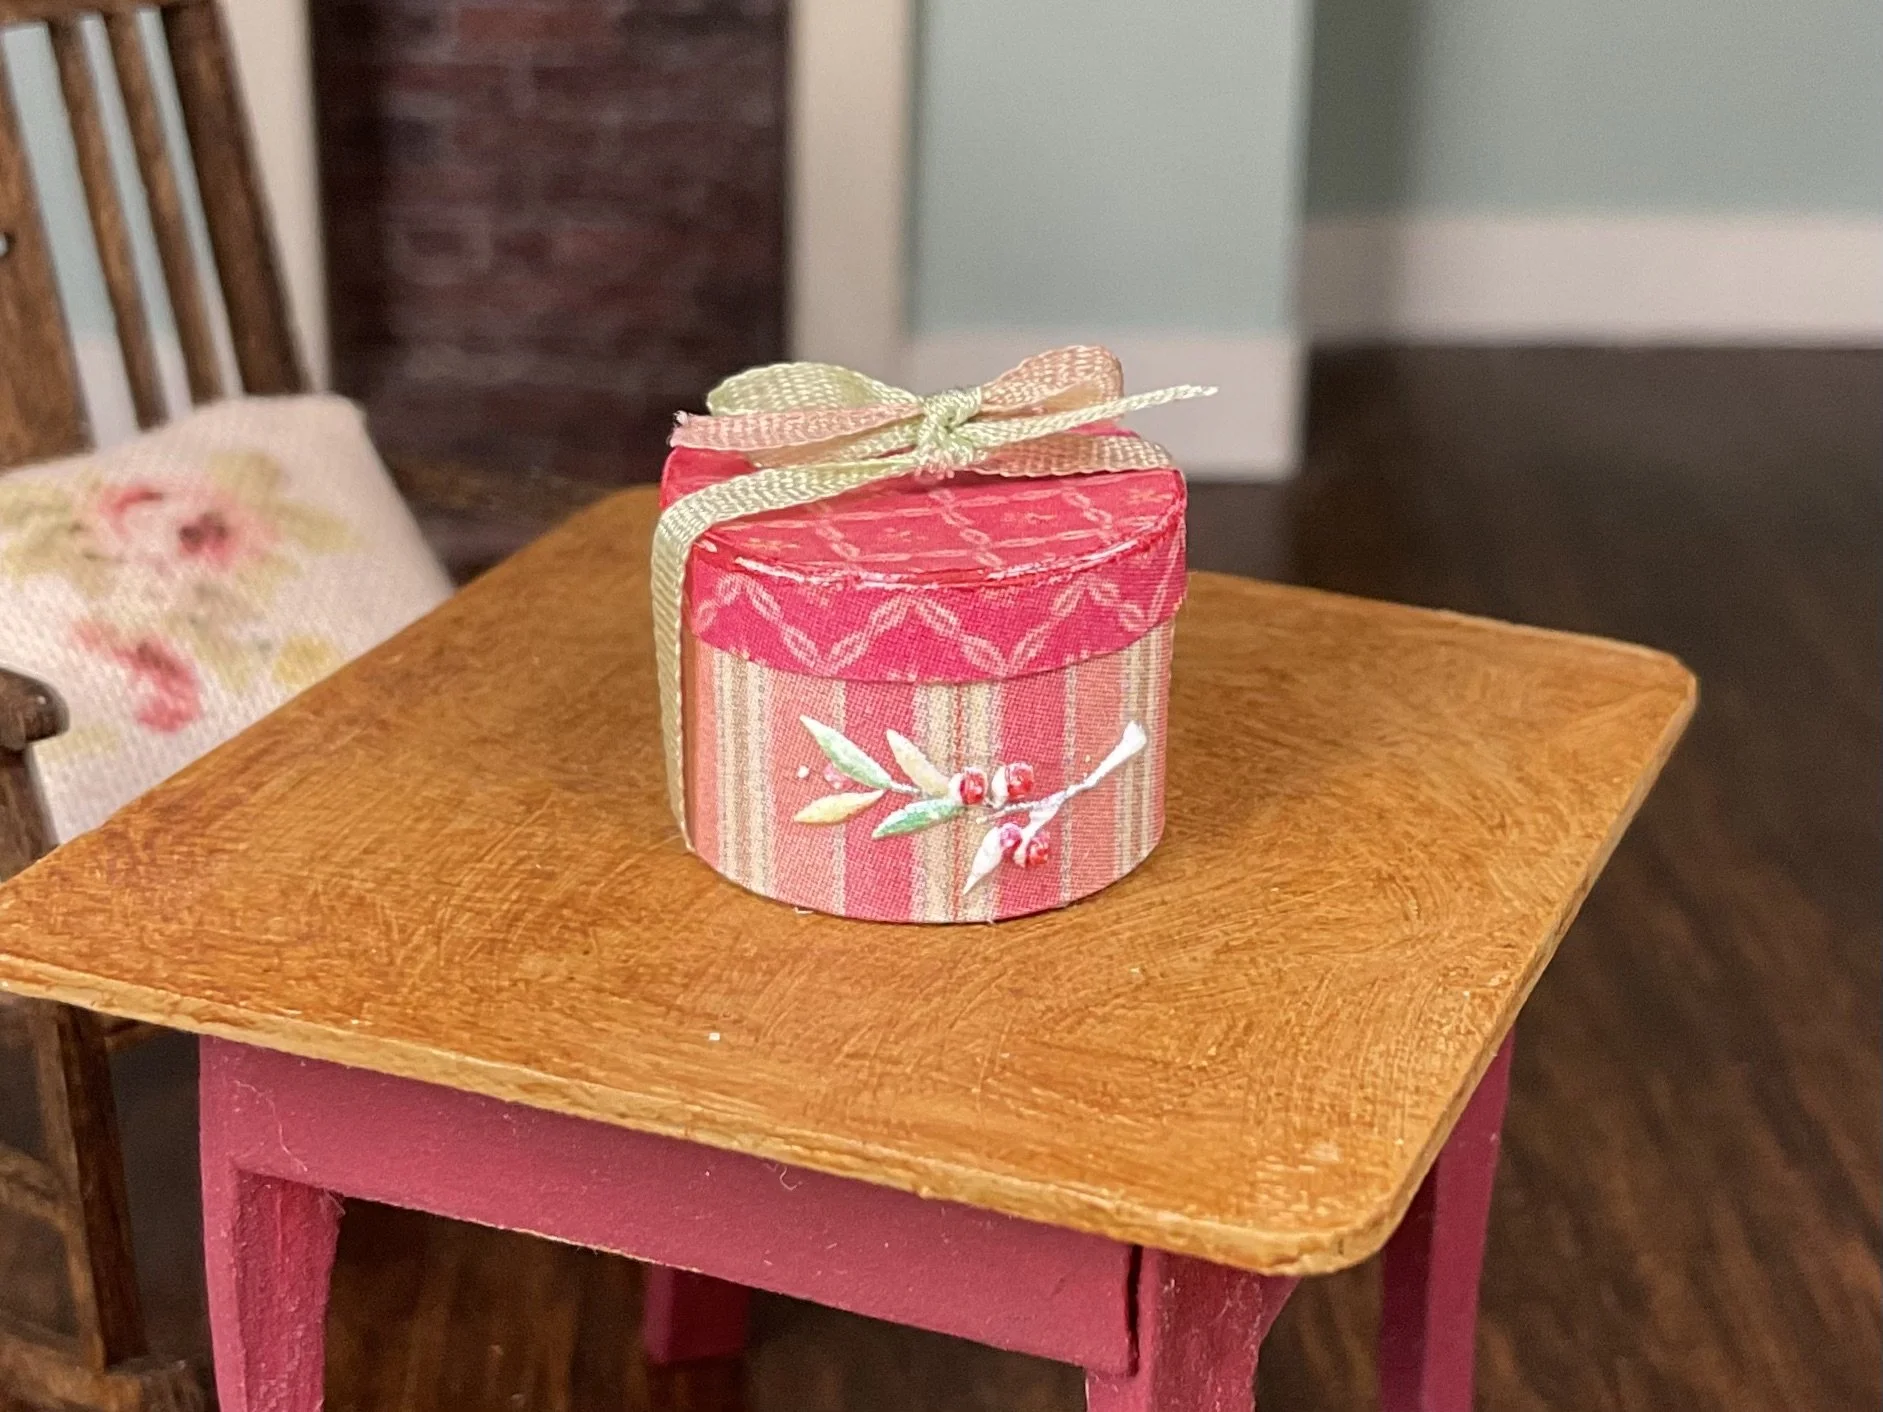
I made a bunch of tiny boxes with the card. I just cut small strips of paper, curved the strips around a paintbrush handle, then glued the ends into a cylinder. When it dried, I glued them onto another piece of card, then cut around that when dry. Some are just simple round boxes, others have an actual (pretend) lid. To make the lid, I cut a narrow strip of card and glued that around the main box when it was still glued to the cardboard.
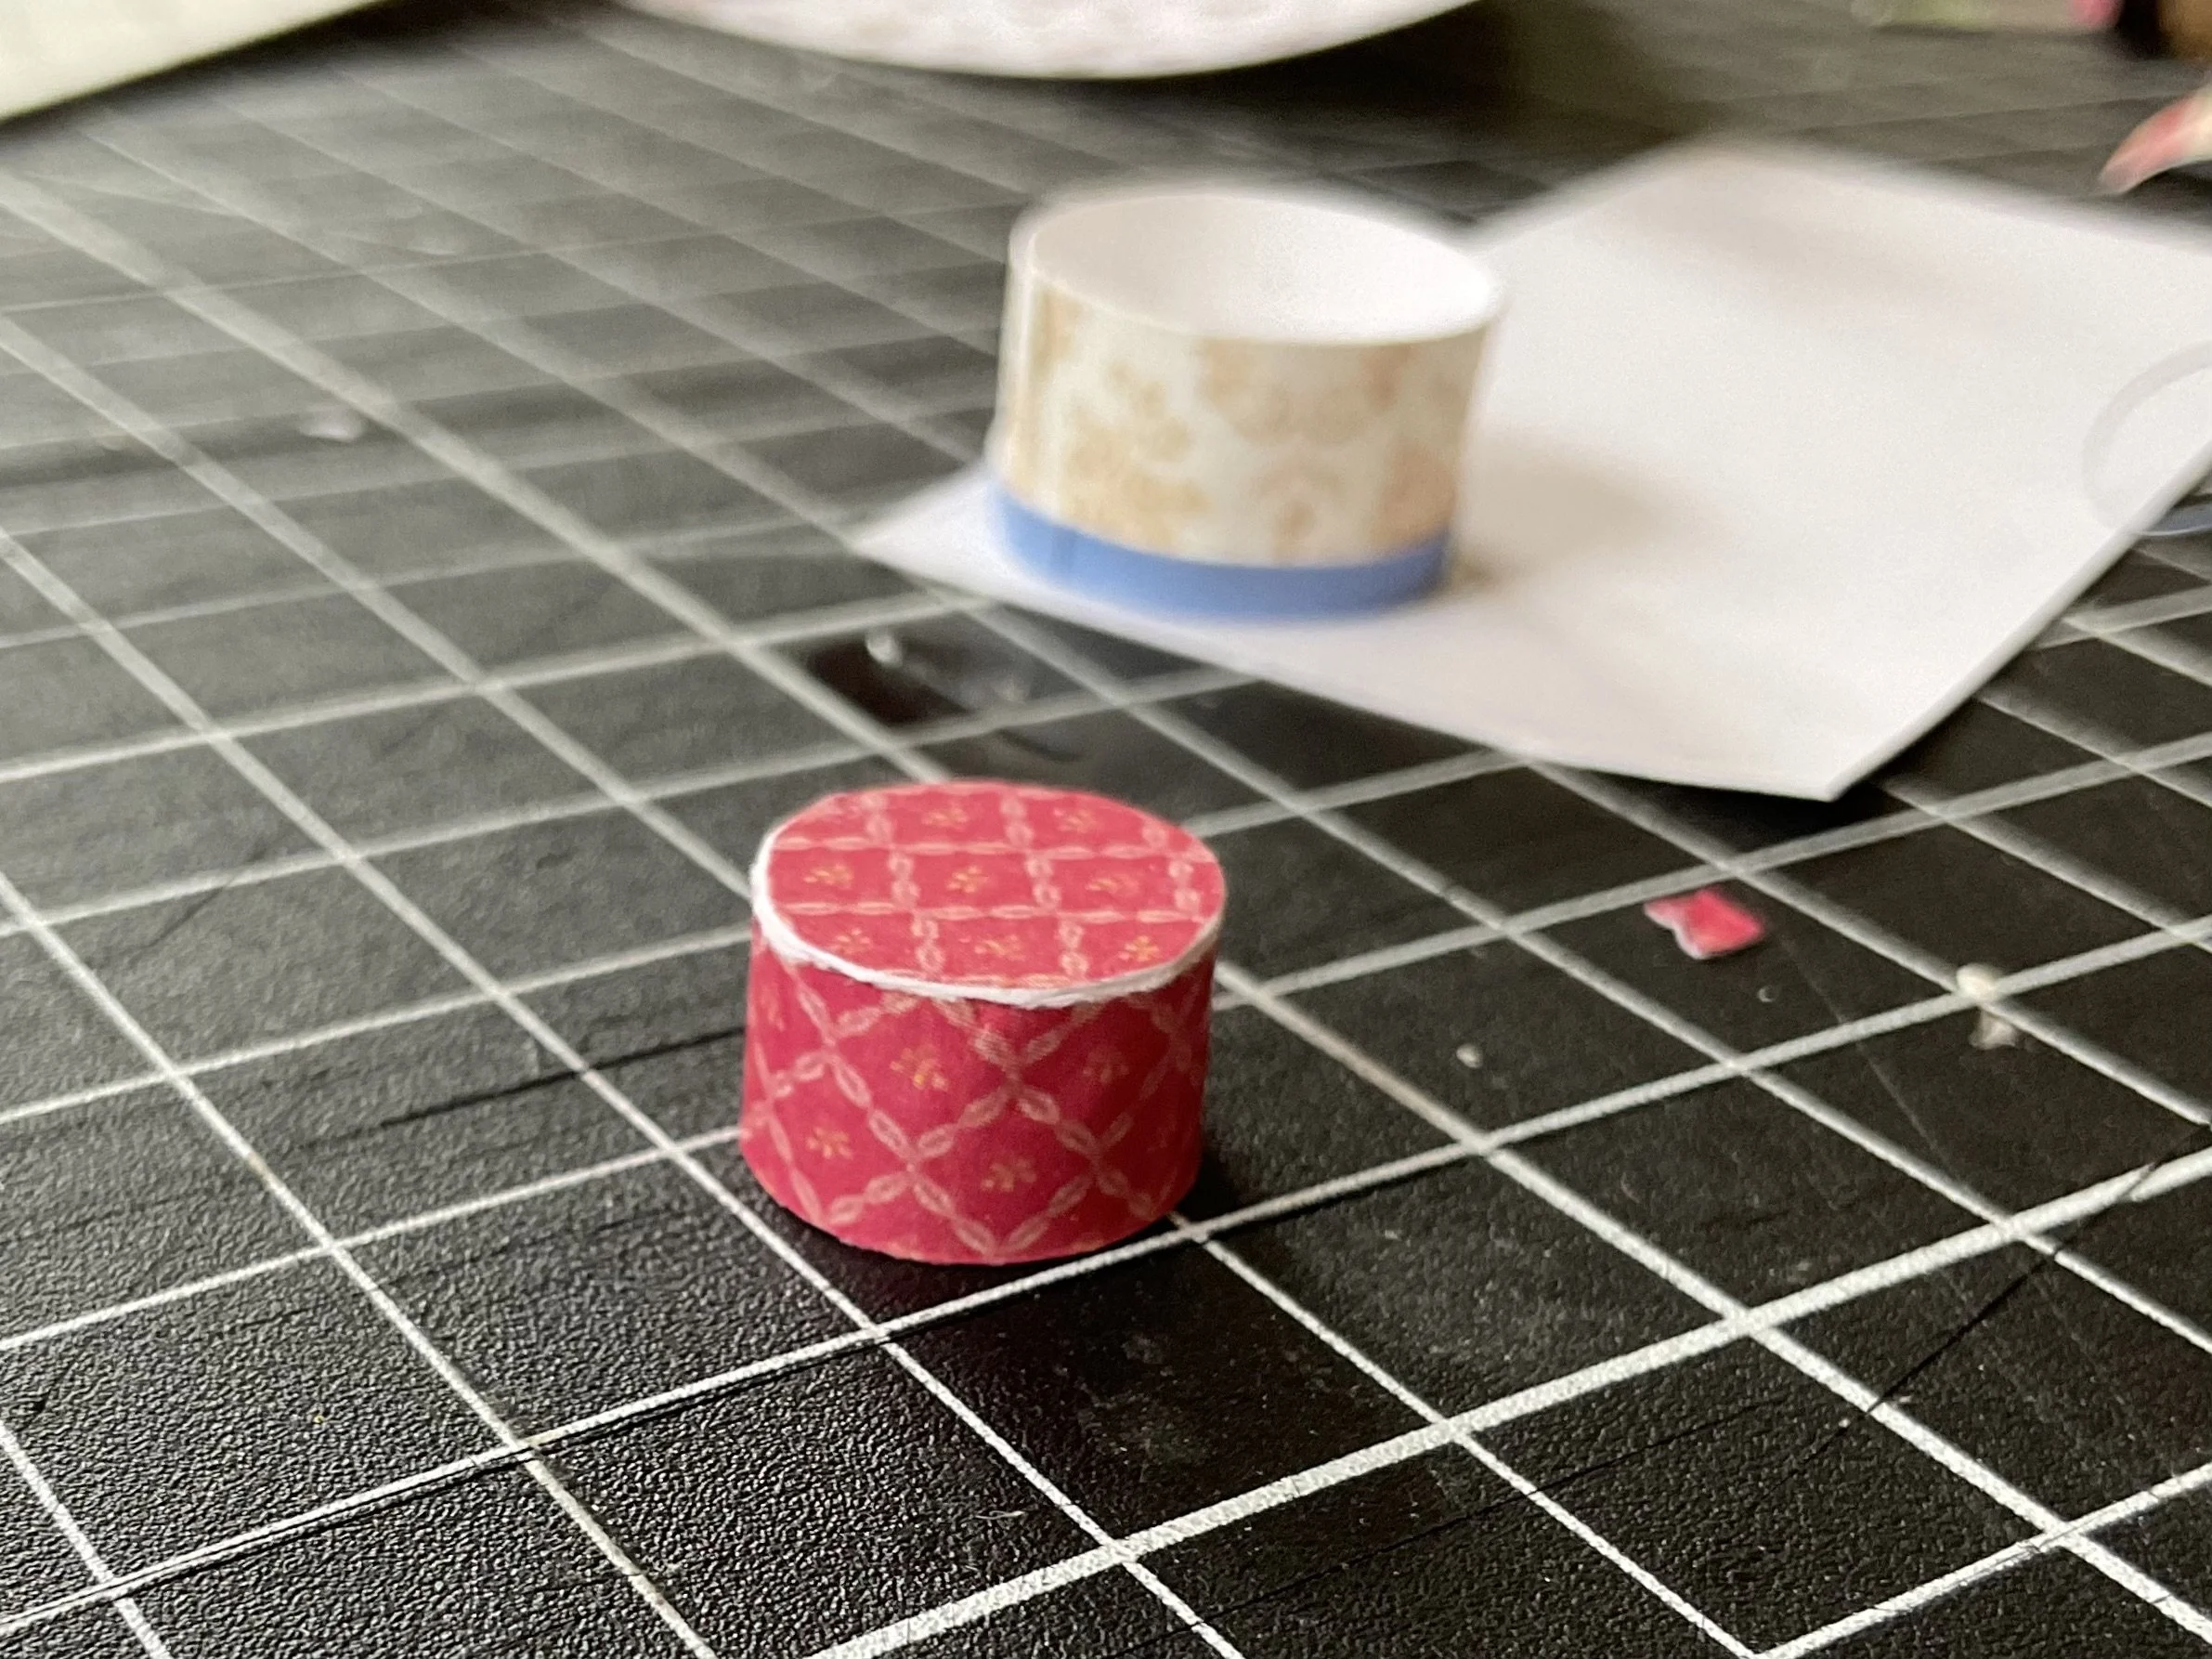
When it’s dry, cut out. I used an emory board to smooth off the cut edges a little, but that’s not completely necessary. I then used watercolour pencils in a matching colour to touch up the white edges of card (but you could use paint or other pencils instead). You could also use a light brown pencil instead to make the edges a bit old and worn and tatty. Here is a box cut out, before I had coloured the cut edges, and looking a bit scrappy!
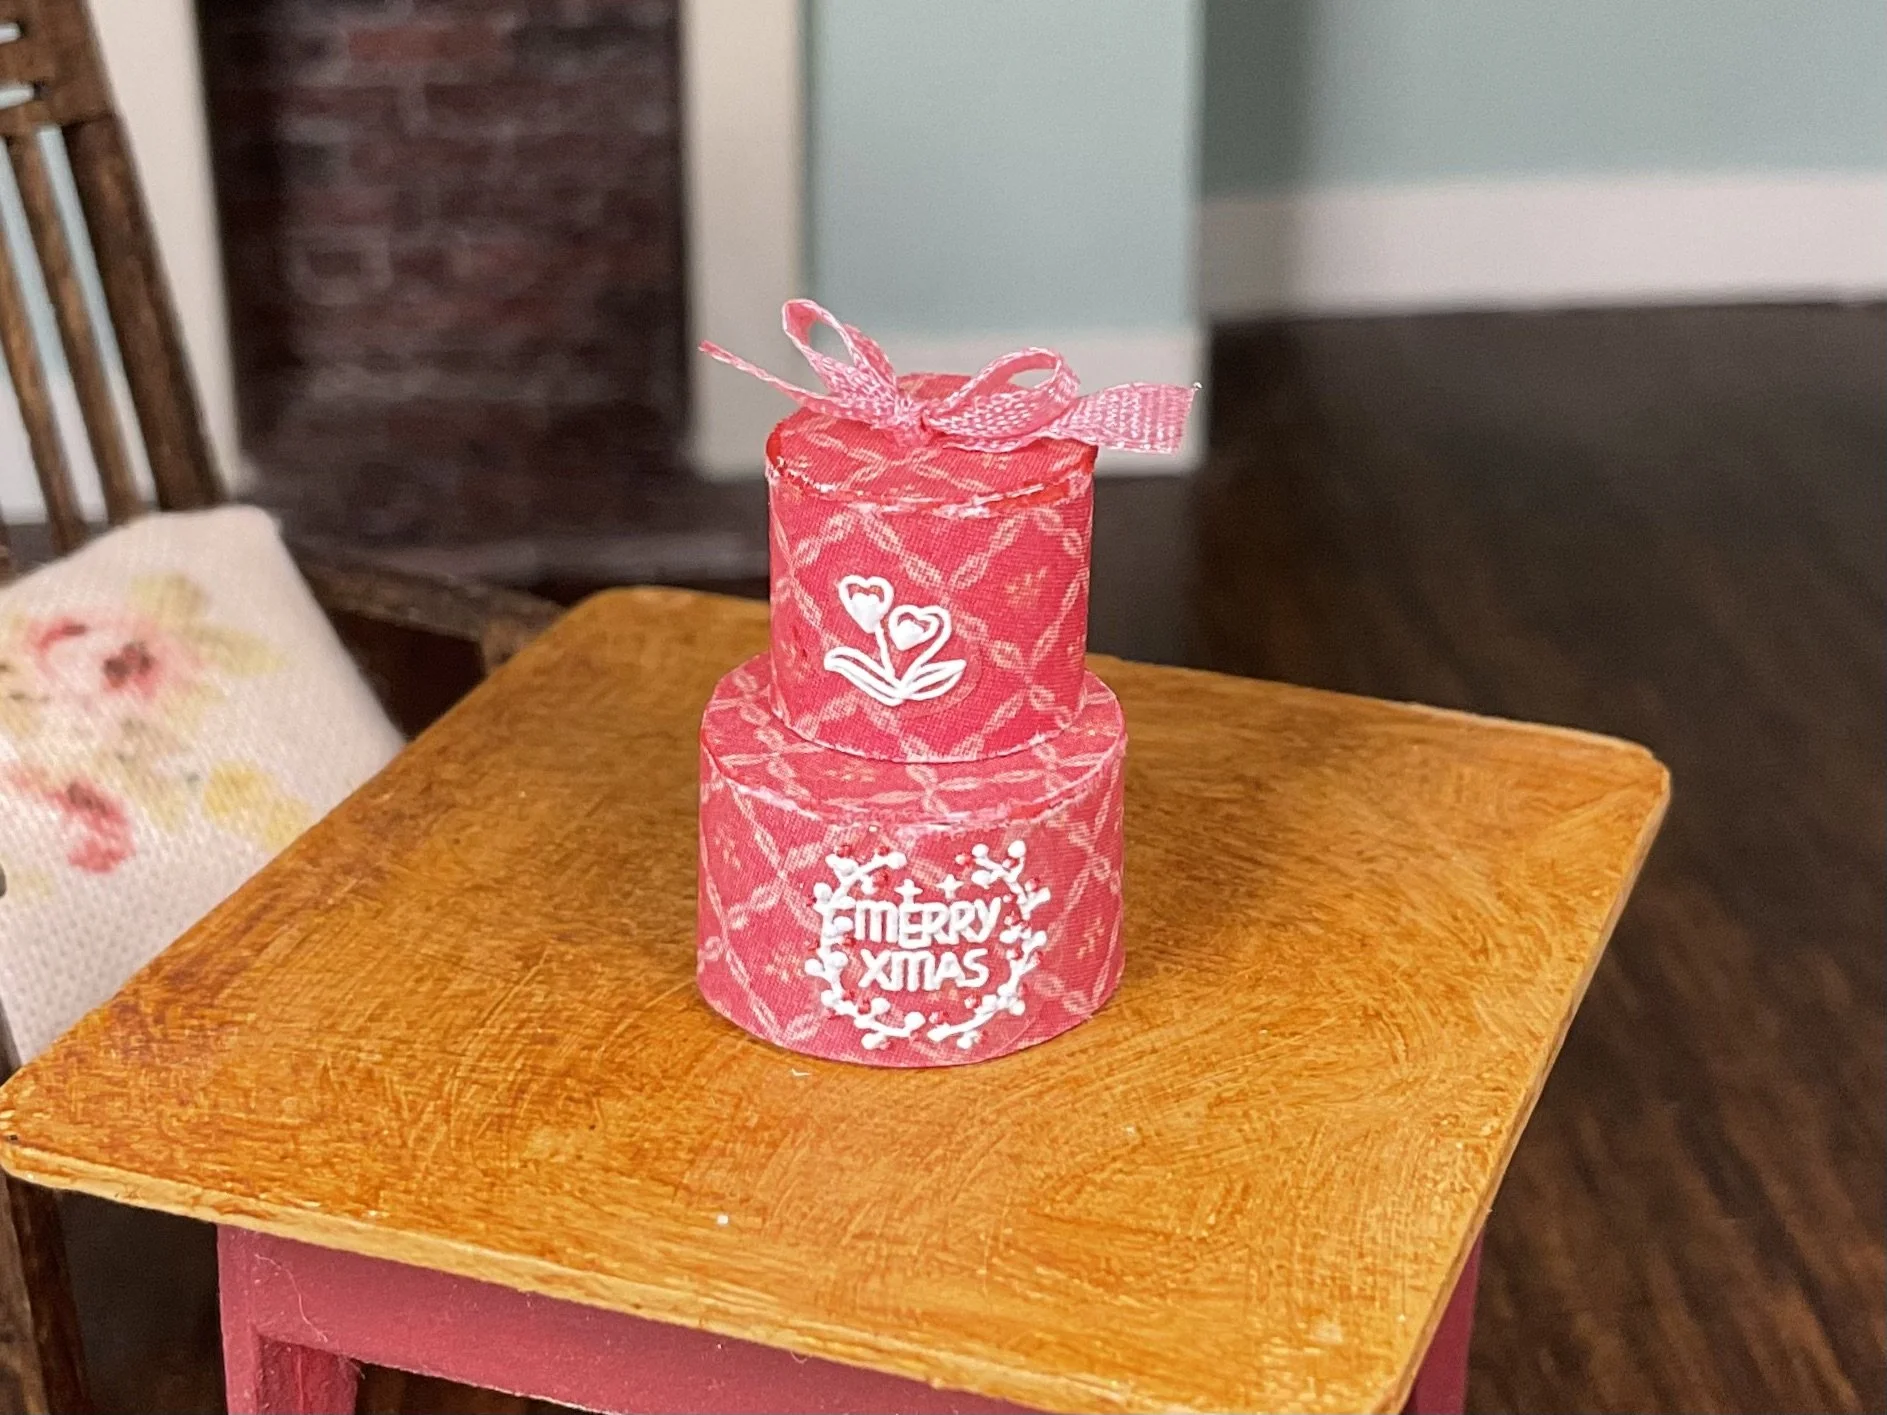
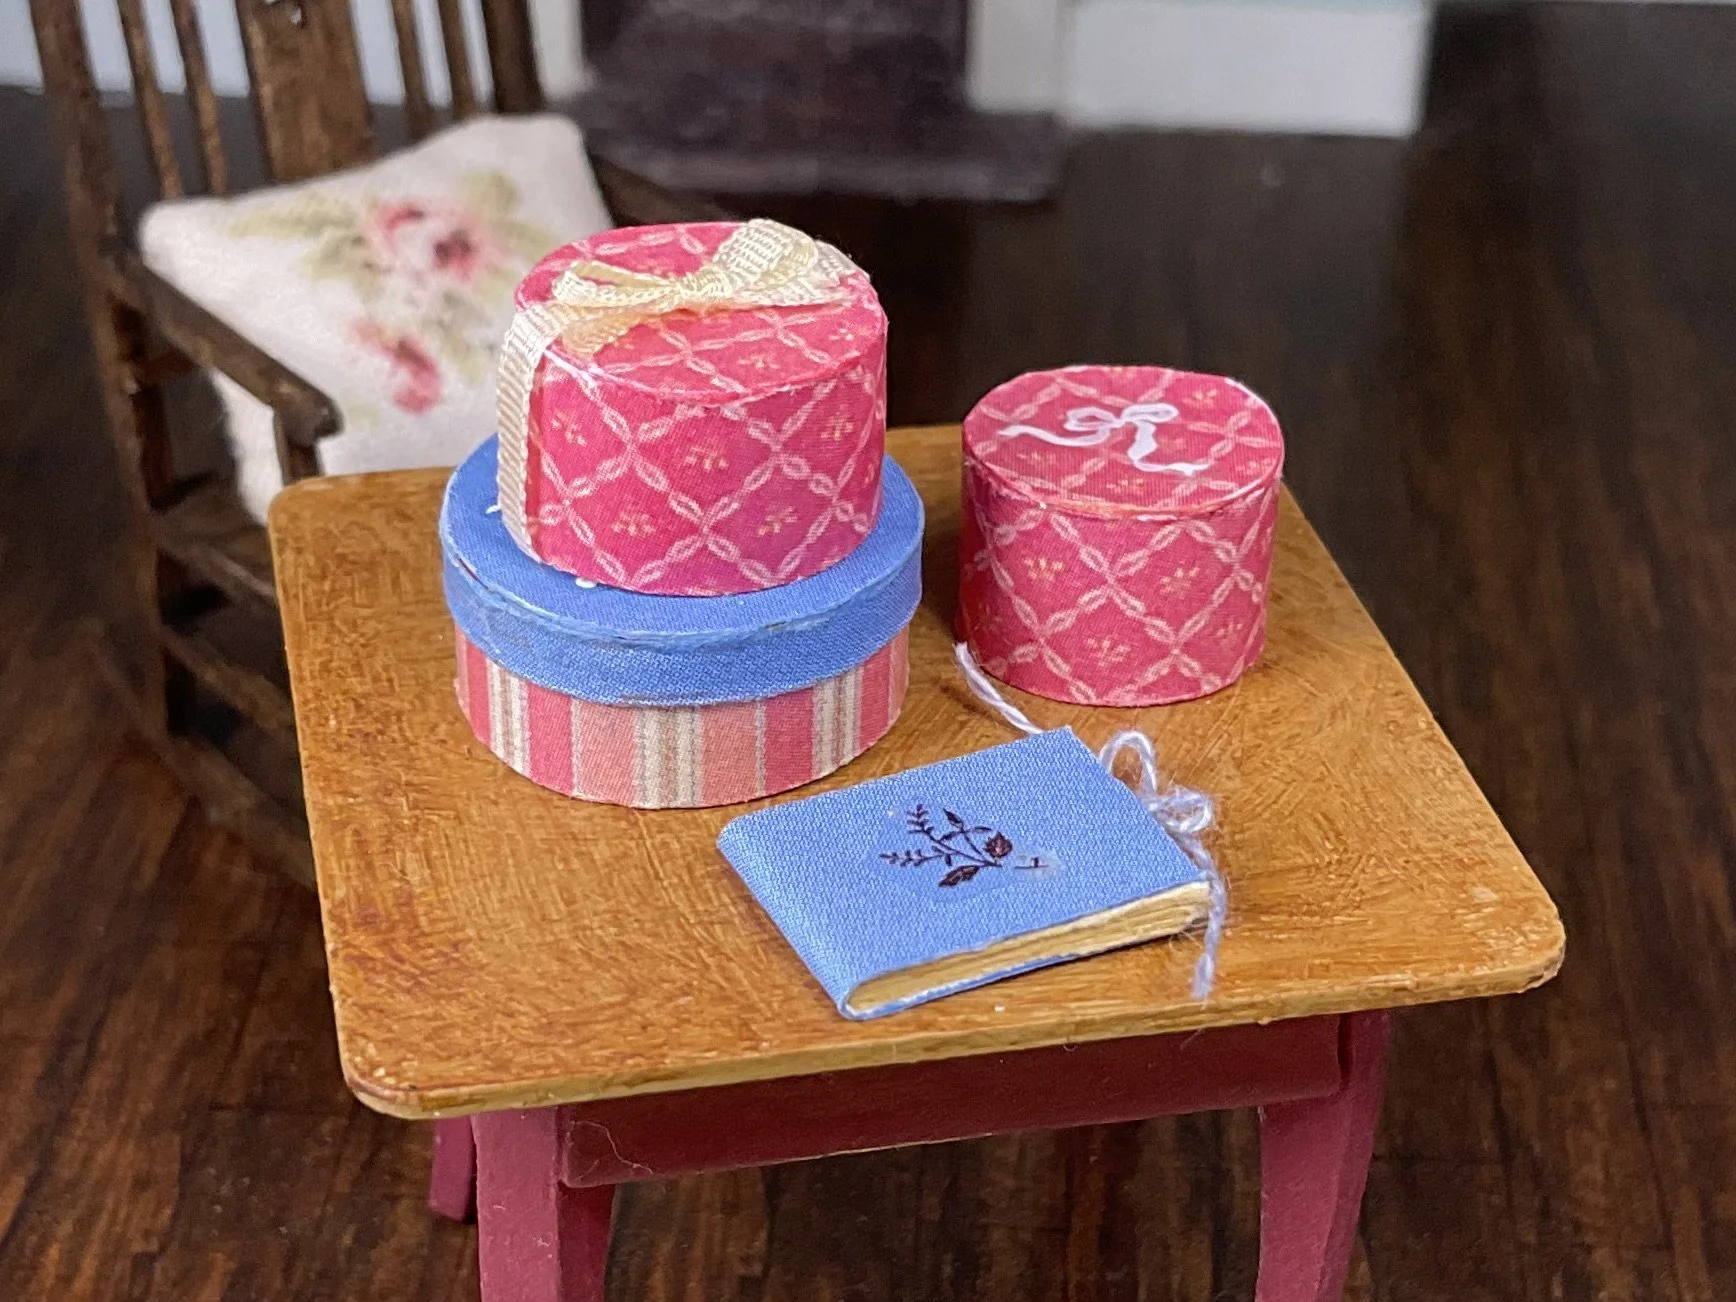
All I did then was find a decal I liked and stuck it on! You could of course add a ribbon bow, or even a tiny card hang tag tied on with embroidery floss. Add a tiny flower sprig or tiny Christmas decorations for a Christmas gift. There are lots of possibilities.
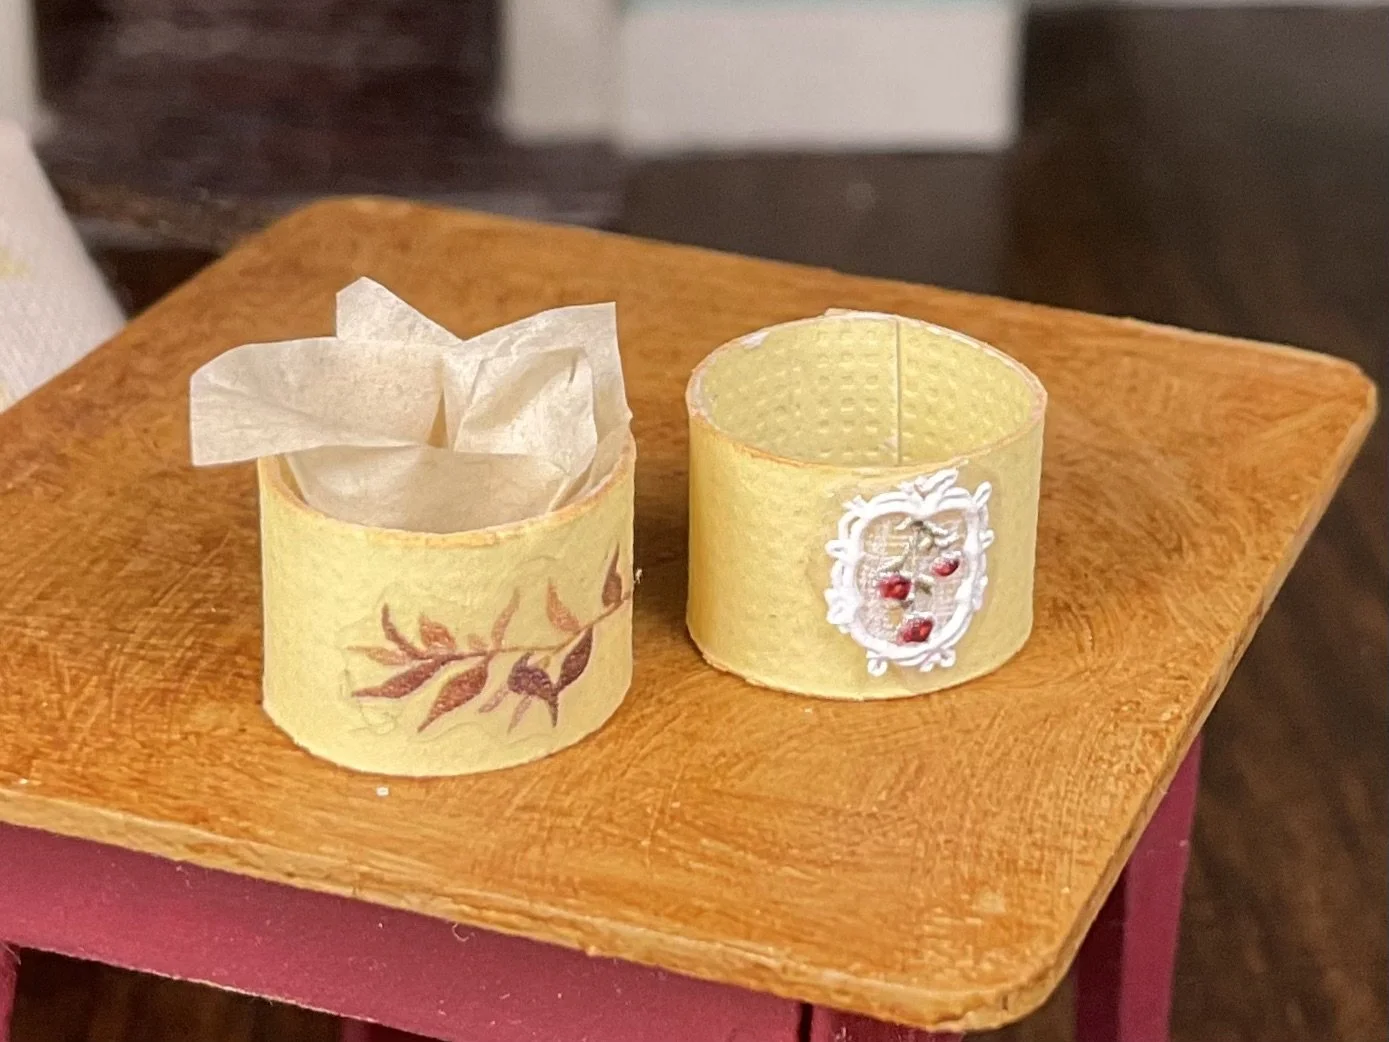
I also made some without lids, which you could use to display cake pops or lollipop and candy canes, a bunch of dried flowers, a Christmas table arrangement or plant pot.
I made super simple books with card covers. Cut a rectangle of card for the cover, then stack small pieces of a thicker card together until you get the thickness you like. Cut to fit your card cover. Glue a length of embroidery floss inside the cover on both sides, glue the cover around the pages and then stick a decal on the front. I used another watercolour pencil to add some age around the edges of the cover. I like to think mine is a family photo album or scrap book.
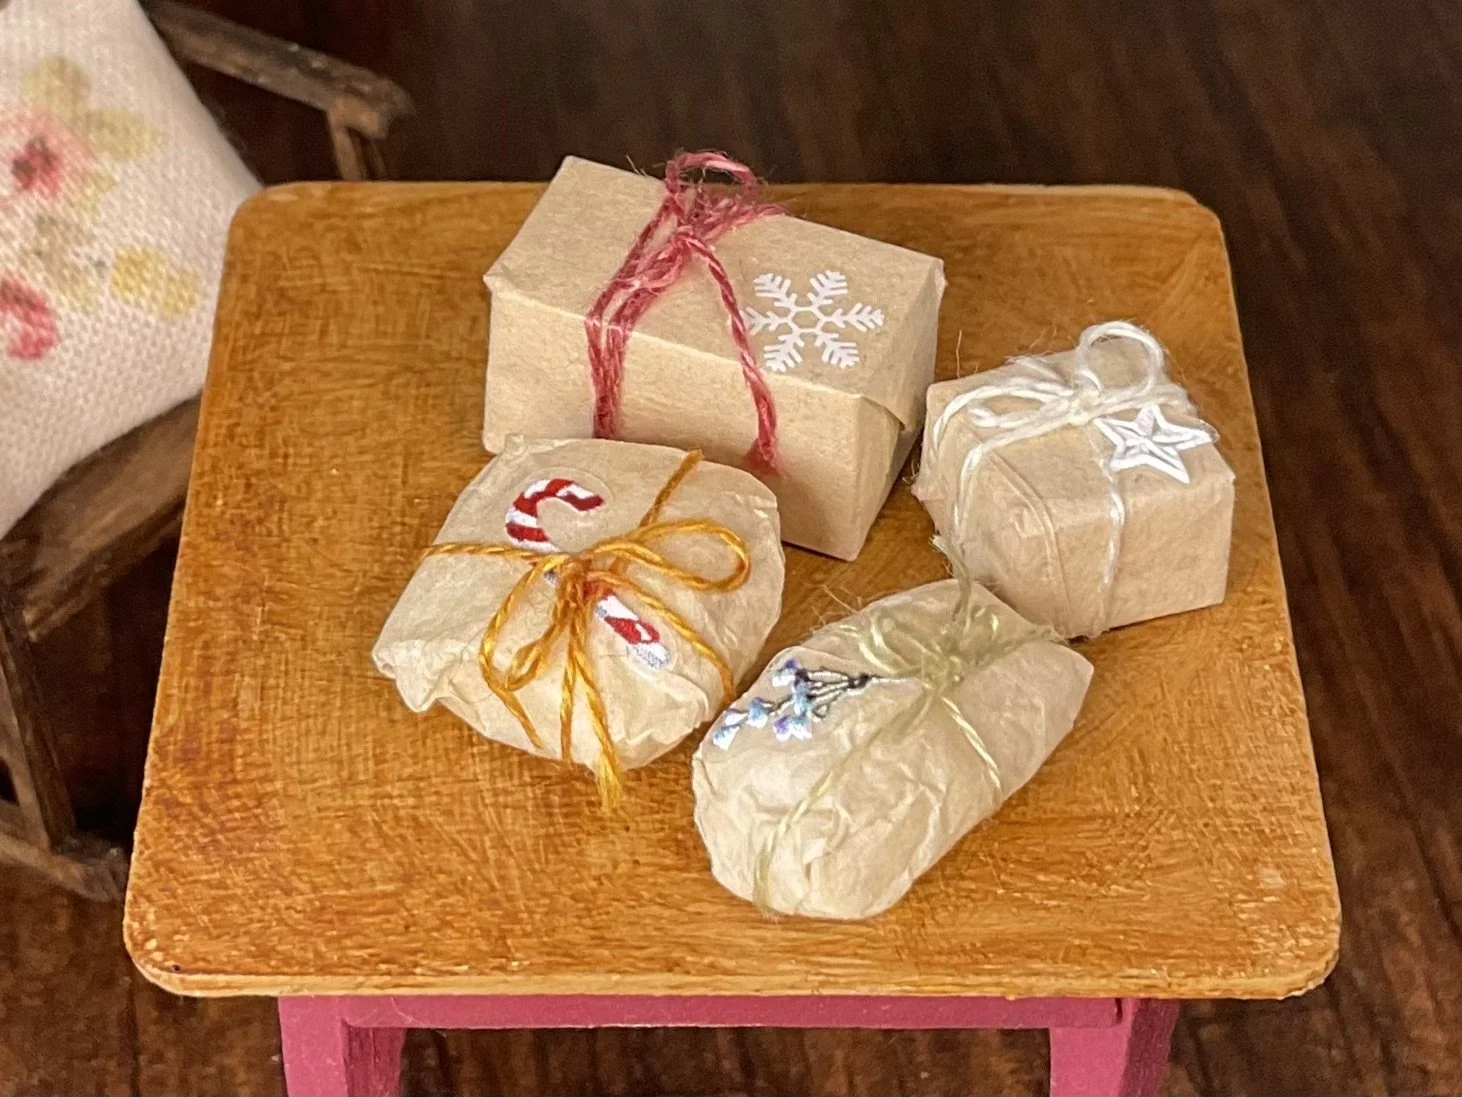
And lastly I made some quick basic parcels based on an idea I saw on Pinterest. The parcels in the image used bright coloured tissue paper, Victorian scraps and a little hang tag or label too, so you could make these all different ways. I made lumpy shapes from scraps of dried out air dry clay, wrapped them in the tissue paper (I scrunched the paper a little too for some), then stuck a little decal on and wrapped with a length of embroidery floss. I think mine came out a little large but they were easy so I can always make plenty more! And it can be hard to gauge these things!
So you can see there are plenty of ways to use these decals. Other ideas include using the decals as pictures in frames, sticking them onto plates or dishes or embellishing furniture. I am sure you can come up with more ideas and have some fun whilst doing so.