Making miniature crabapples
Hello everyone. This post is a bit of a tutorial on how I made my 1:12 crabapples from home-made cold porcelain (see previous blog post here: https://www.redcottageminiatures.com/blog-1/2019/5/8/cold-porcelain-recipe). You could use any air dry clay for this. Just keep in mind the cold porcelain shrinks a bit when it dries. Please excuse my slightly fuzzy photos - they are zoomed right in!
I showed these as 1:24 apples in my Black Walnut cottage, which I think work well but I think to be in scale, the stems need to be shorter and a little thinner. The photo below shows them in my 1:12 French house. This is also the method I use to make trees, shrubs, vines, etc. Have fun with it!

How to make 1:12 crabapples or 1:24 apples!
Tools and Materials:
Fine jewellery, fuse or florist wire
Pliers/wire cutters
Texture paste
Cold porcelain or other clay you prefer
Ball stylus
Paint brushes, including a very fine liner or spotter brush or toothpick
Paints
Here’s how to make them:
Step 1: Twist short lengths of fine wire (such as fuse wire) together to make small branches.

Step 2: Dampen a paint brush and brush texture paste onto wire. More water on your brush may make application easier. Allow to dry then coat again if desired. It doesn’t need to be too thick but I like to disguise the wire twists so they are not so obvious. I use a store-bought texture paste as it is smooth and remains flexible so you can bend the branches after it has dried. It does not have to be expensive and I use it quite a bit (such as for stucco or other surface textures, bark on plants, etc).
Step 3: When dry, paint with greyish brown paint. Dry brush lighter and darker tones on to create some variation.
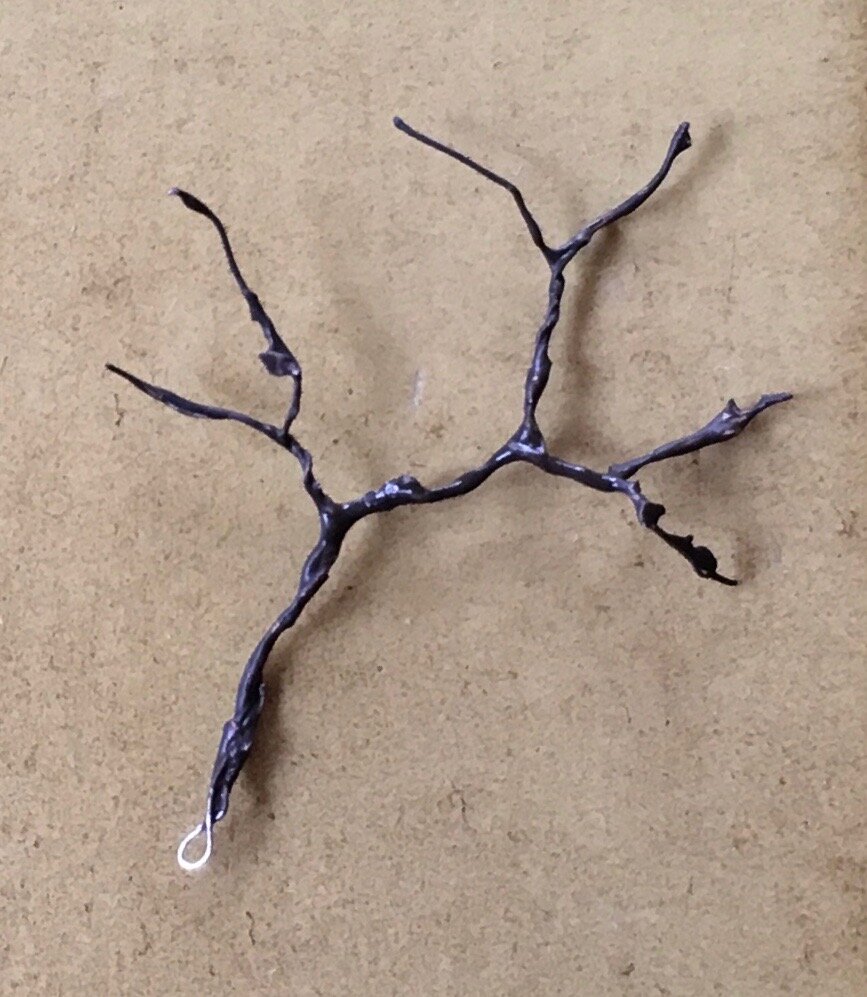
Painted greyish brown

And with a lighter brown dry brushed over
Step 4: Roll a tiny ball of your porcelain then immediately dip a branch end into glue and glue on the ball. Indent the ball with a ball stylus or similar tool on the side opposite where it is joined to the stem. Continue until you have as many apples as you want and allow to dry thoroughly.

Step 5: Paint the crabapples as desired. I painted mine much like the branches. Start with a mid tone and add lighter and darker tones. You can use paints or chalky artist pastels if desired. They do not have to be perfect. If you use pastels, you can spray with a little fixative or matte spray sealant to protect the colour. I used regular craft acrylics in burgundy, a dark brownish burgundy (Folkart’s Apple Spice) and a gold yellow using a damp brush. When dry, dab a tiny dot of dark brown paint into the indentation that faces outwards away from the branches. You can use a very fine paintbrush or a toothpick - whatever you find easier.

Step 6: Leaves: you can cut tiny leaves from green paper. Mark veins on the leaves with the sharp end of a wool needle (or similar pointed tool) and dab on slightly different green tone paint for variation. Alternatively, shape leaves from the air dry clay: make tiny teardrop shapes, flatten them and add veins as per the paper leaves (this is how I made my leaves). When dry, glue to stems and paint them. I painted with a wet brush in green, gold yellow and little dabs of brown.
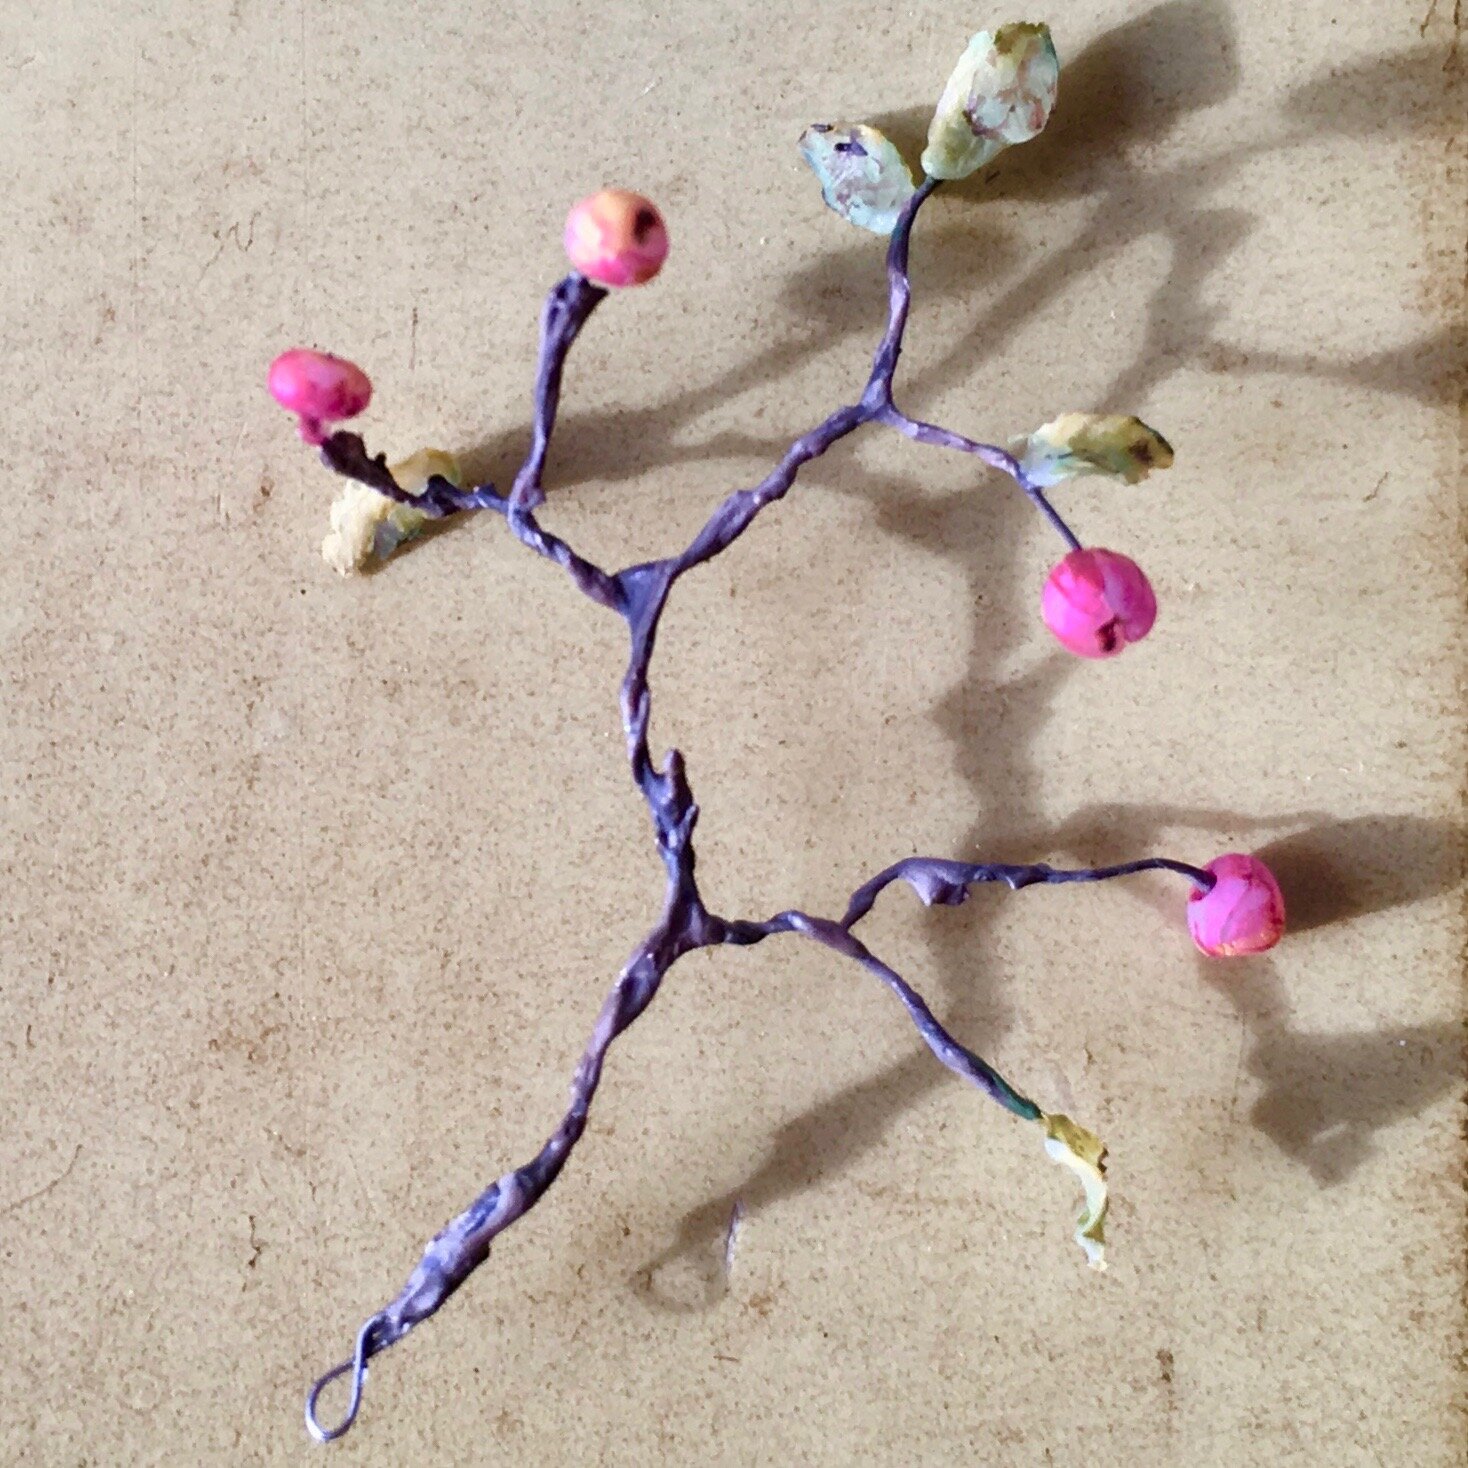
And you are done! Arrange in a vase or scene as you wish. Some other ideas:
Cherries - make tiny round balls coloured red with a clear gloss varnish.
Rose hips - make tiny elongated balls without dentations. Paint reds and oranges, add a brown dot on the end away from the branch.
Pears, plums, peaches or any other type of fruit you wish. Let me know if you come up with any other great ideas. I’d love to see them!